Featured


Here are my 5 main pointers to stay inspired during quarantine in NYC. My psyche‘s health and output connect a lot, so I’ve made emotional wellness a priority. I wanted to share my routine that creativity casually chose to show up for. What are your tricks to stay inspired?
1. Have a morning ritual
Mine is as follows
✺ No screens for the 1st hour
✺ Make my bed!
✺ Meditation
✺ Movement
✺ Gratitude journal
✺ Get out unnecessary swirling thoughts by writing them out
✺ Reading
2. Make magic happen in your external world
✺ My space is so important to me to feel visually at ease and overall creative so I keep it clean.
✺ I light candles, insents etc. Good smells keep my life and apartment feeling magical, which inspires creative magic.
✺ During quarantine, I’ve treated myself to some sweet products like cute new pens and a sweet face mask. Just adds a little sparkle. ⠀
3. Take care of your body
✺ Yoga has become second nature for me (and with it originally came collage). I highly recommend to move with your breath in a way that works for you.
✺ Long showers & baths. I love to pamper my body a bit during this time. I find I have a lot of good ideas when submerged in water, too.
✺ Creams & oils & scents. Just makes me feel good and keeps me tuned into my senses. ⠀
✺ Food. I‘m eating pretty clean and cooking lots of veggies, which feels grounding. I also don’t restrict right now - doesn’t feel like the time.
✺ Water is my bff
4. Keep your heart happy and your loved ones close
✺ My roommate and I have implemented special weekly walks where we have philosophical talks.
✺ I call my grandma in Switzerland everyday. It’s something she really appreciates, and it feels really good to me too.
✺ My evenings are reserved for my partner and I, so I create a boundary for work here. We also usually have a day once a week without work to fill the creative well only. We have been experimenting with new recipes. Really, he cooks cause I’m not great at it but I’ll set up a nice table.
5. Connect to nature
✺ Fresh air! I bike to my studio and take walks⠀
✺ Plenty of sleep and early bed and rising times. This comes from habit and the intention of wanting to align myself with nature / natural darkness as much as possible. I also just love early mornings.
There you go! Let me know if there’s anything you think I should add to my routine that works for you

Today I wanted to share my IG TV video of how I make a digital collage from start to finish on Photoshop and Illustrator. You can see the process of creating, changing my mind about everything multiple times, and so on. The music is by The Born Love, who I am excited to announce an upcoming collaboration with.
x
Nat
Make Digital Art - 10 Practical Tips
Recently, my artwork has taken me into the digital realm, and that started way before the global pandemic. Although I will always adore the direct communication with my Unconscious that occurs in my tactile, analog work, I do feel less restricted digitally in a lot of ways. There’s so many beautiful digital effects that I love to explore. I love that I get to be really specific about my colors, work in layers, duplicate objects… the list goes on. You can see some variations of all that I’m talking about in my work here. So if you want to try making a digital art piece out of different images, here are my 10 practical tips.
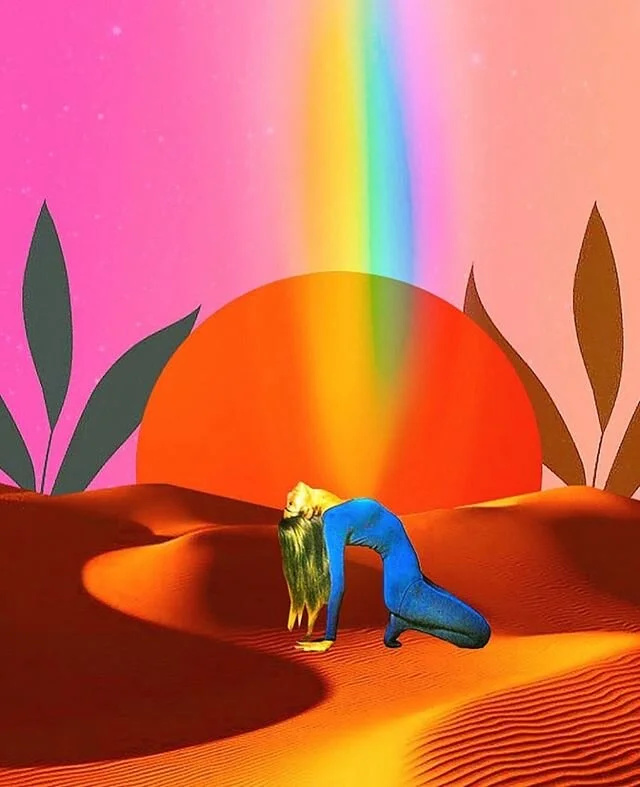
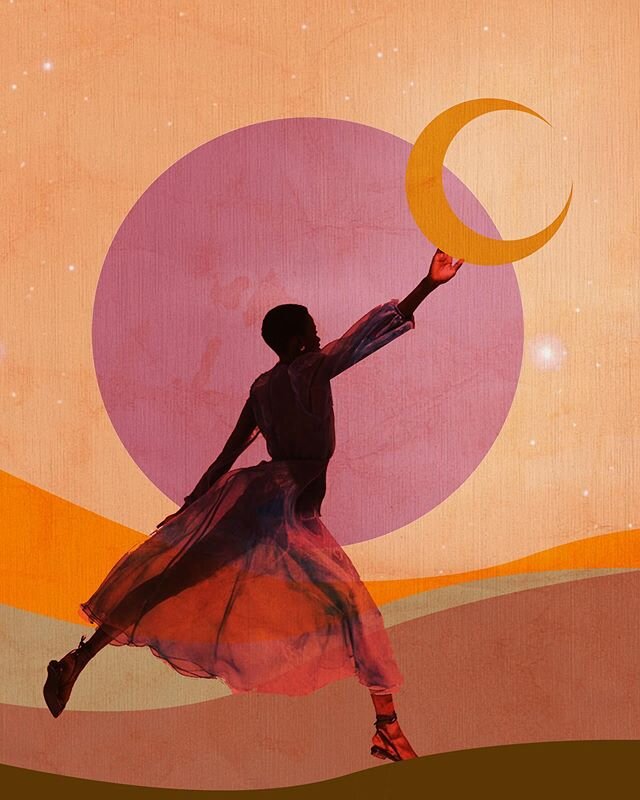
‘Reachin’ Round’ collage, which includes some fun effects that I can only do digitally like transparency. For more work like this, check out my Instagram page or Website gallery.
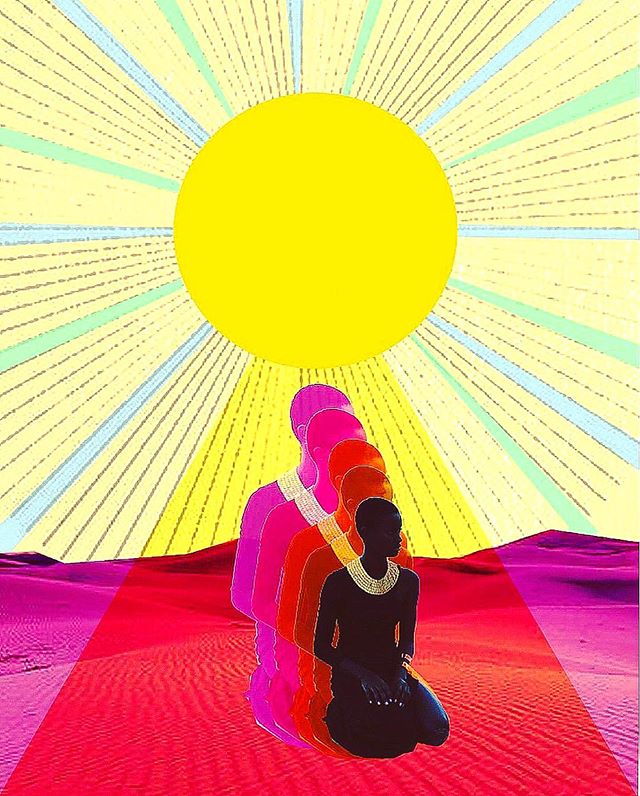
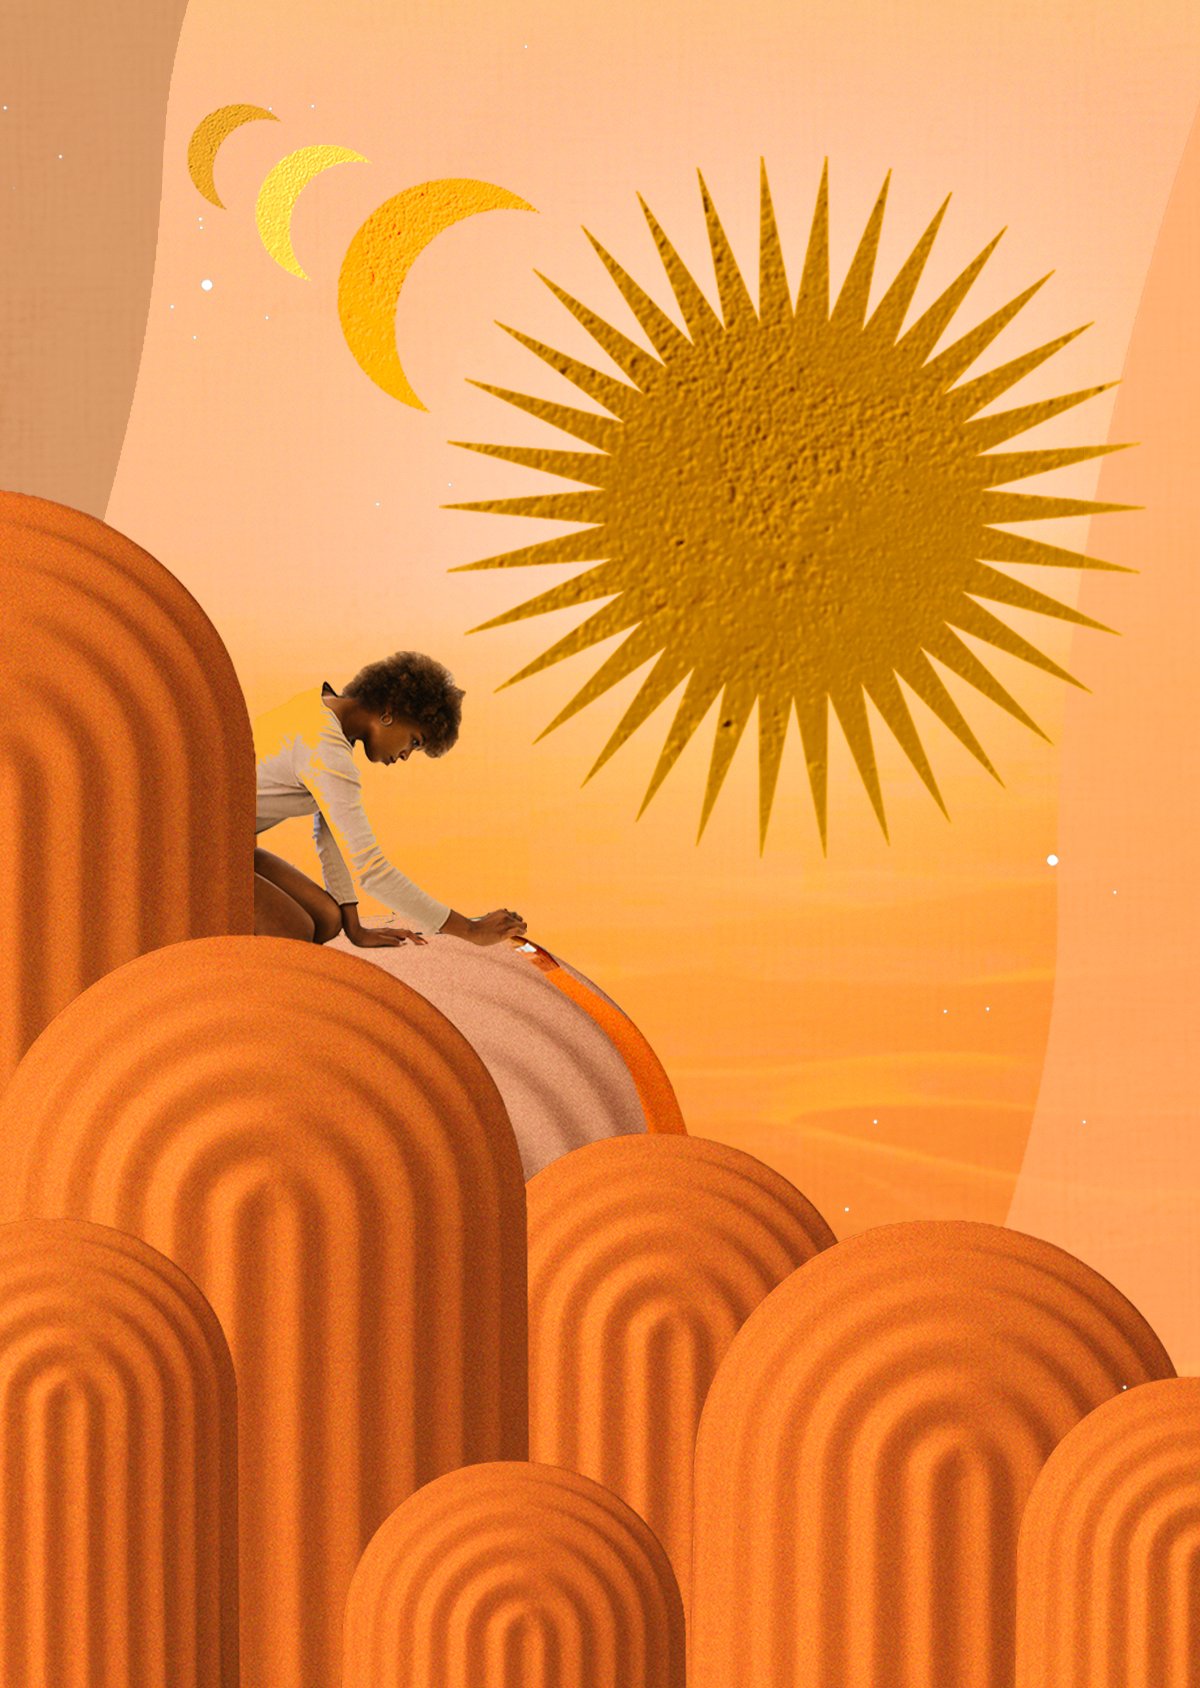
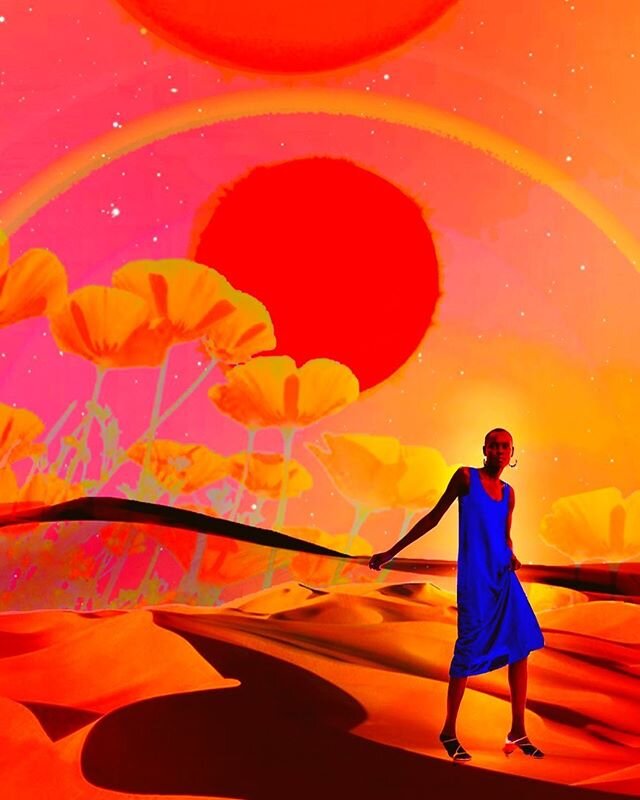
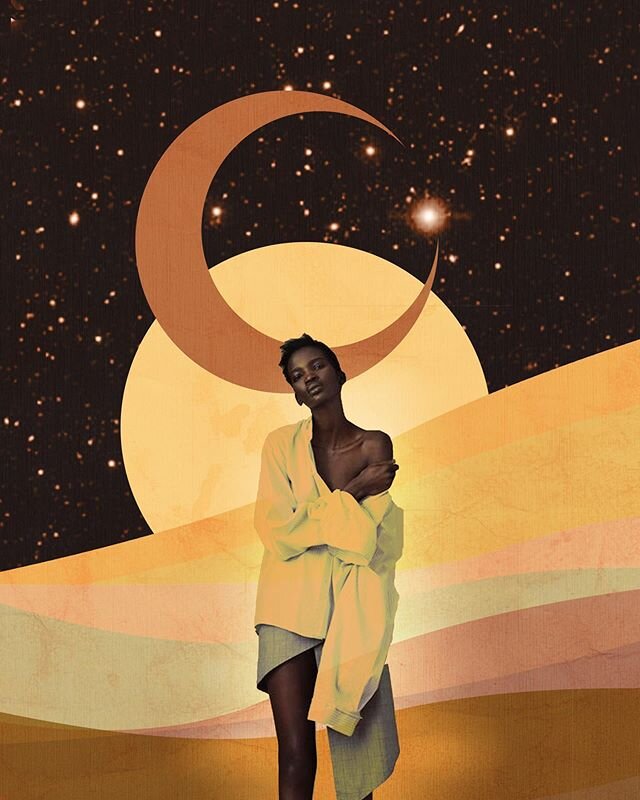
‘Sun creatures’ collage. For more work like this, check out my Instagram page or Website gallery.
1. Build a photo library and get inspired
Start by gathering your digital materials. The possibilities are truly endless! You don’t have to be a pro photographer to start collecting some shots. Even non-polished phone images that have some kind of interesting element are great. Pexels.com and Unsplash.com are some of the free resources for stock imagery I utilize, but there’s many others. Snap some photos of what you can find and add it to your library. Add textures that you could overlay something with!
There are many ways to not straight away go online to search, but of course you can. If you are just doing this for fun, you have the whole web to play with. If you’re a professional artist, then read up on your copyright rules and make use of images that you can license. Something I often do is play with watermarked images in a collage before I then decide to buy it to be sure I actually need it. You can also reach out to photographers that you want to collaborate with. The web is your oyster!
There are so many beautiful images out there that you can also just get inspired by. I’ll often find interesting color hues or combinations online that I absorb into my personal work.
TOP TIP: you don’t want to spend all day looking for images and get lost scrolling, draining your creativity. Give yourself a cutoff point. Sometimes more is less – see what you can do with what you already have.
You can always come back to collecting once you have a bit of a framework and are clearer of what you’re looking for. Sometimes I’ll get really specific. A recent example of this was the google search for a ‘gold glass sphere’ that I ended up using.
Don’t get lost in a certain look of an image or attached to a composition. Digital collaging means creating something new out of many old things – so get creative and don’t be afraid to take something apart that exists. That’s the whole point. Reference, alter, create and enhance, don’t steal.

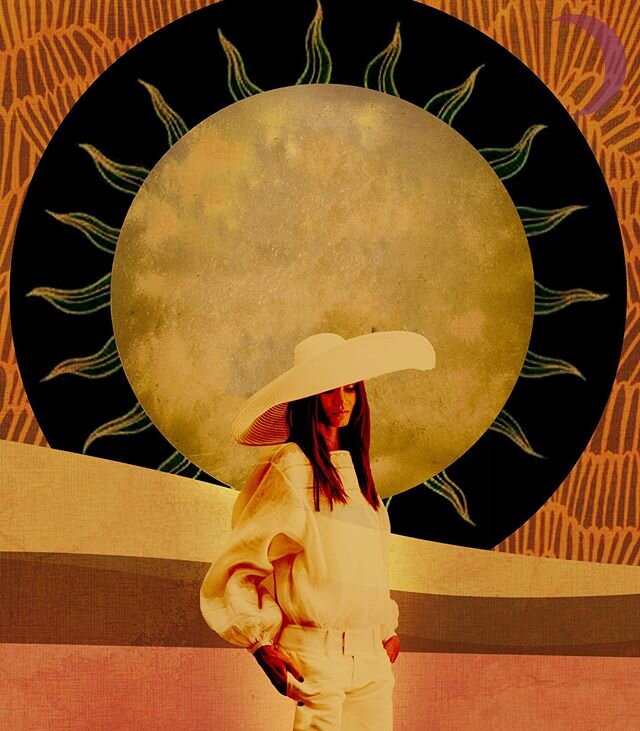
Note my consistent reuse of oranges and softly shaded lighting. Collage ‘Behind the Face.’
2. Keep your color palette consistent
I usually try to match my saturation degrees, which I often prepare before I even start my piece. There’s no scientific ways to do this. I have a really colorful style so I like to use intense saturation that I will sometimes enhance digitally lat. But you can prepare for it before you even start by making a library of photos with colors you would like to match and use that as a sort of materials color palette. You can also use a color picker tool to save swatches that you’d like to use (more on this tool when we’ll talk Photoshop later). Pinterest can be nice to make mood boards for color use.
In general, my best tip is to repeat colors. I would say it’s always a good idea to reiterate colors in the fore- and background so that the overall image connects with color and has a cohesive feel.
3. Keep your lighting consistent
Keeping my lighting consistent is a rule I’m pretty strict about. This also starts before I even make a file. The reason is that lighting can get really messy in the digital art world. You may cut out a figure that has tons of shadows (hard light) and then find a really softly lit ground for her. That will make the whole piece seem less realistic / tied together. So try to pick lighting that matches: either have most of your objects be softly lit (not too many shadows or harsh lines) or choose the opposite.

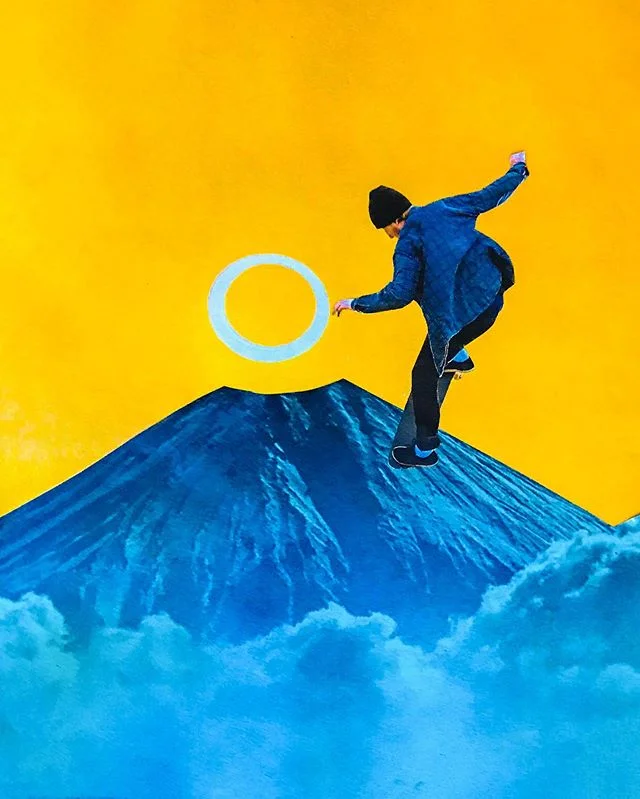
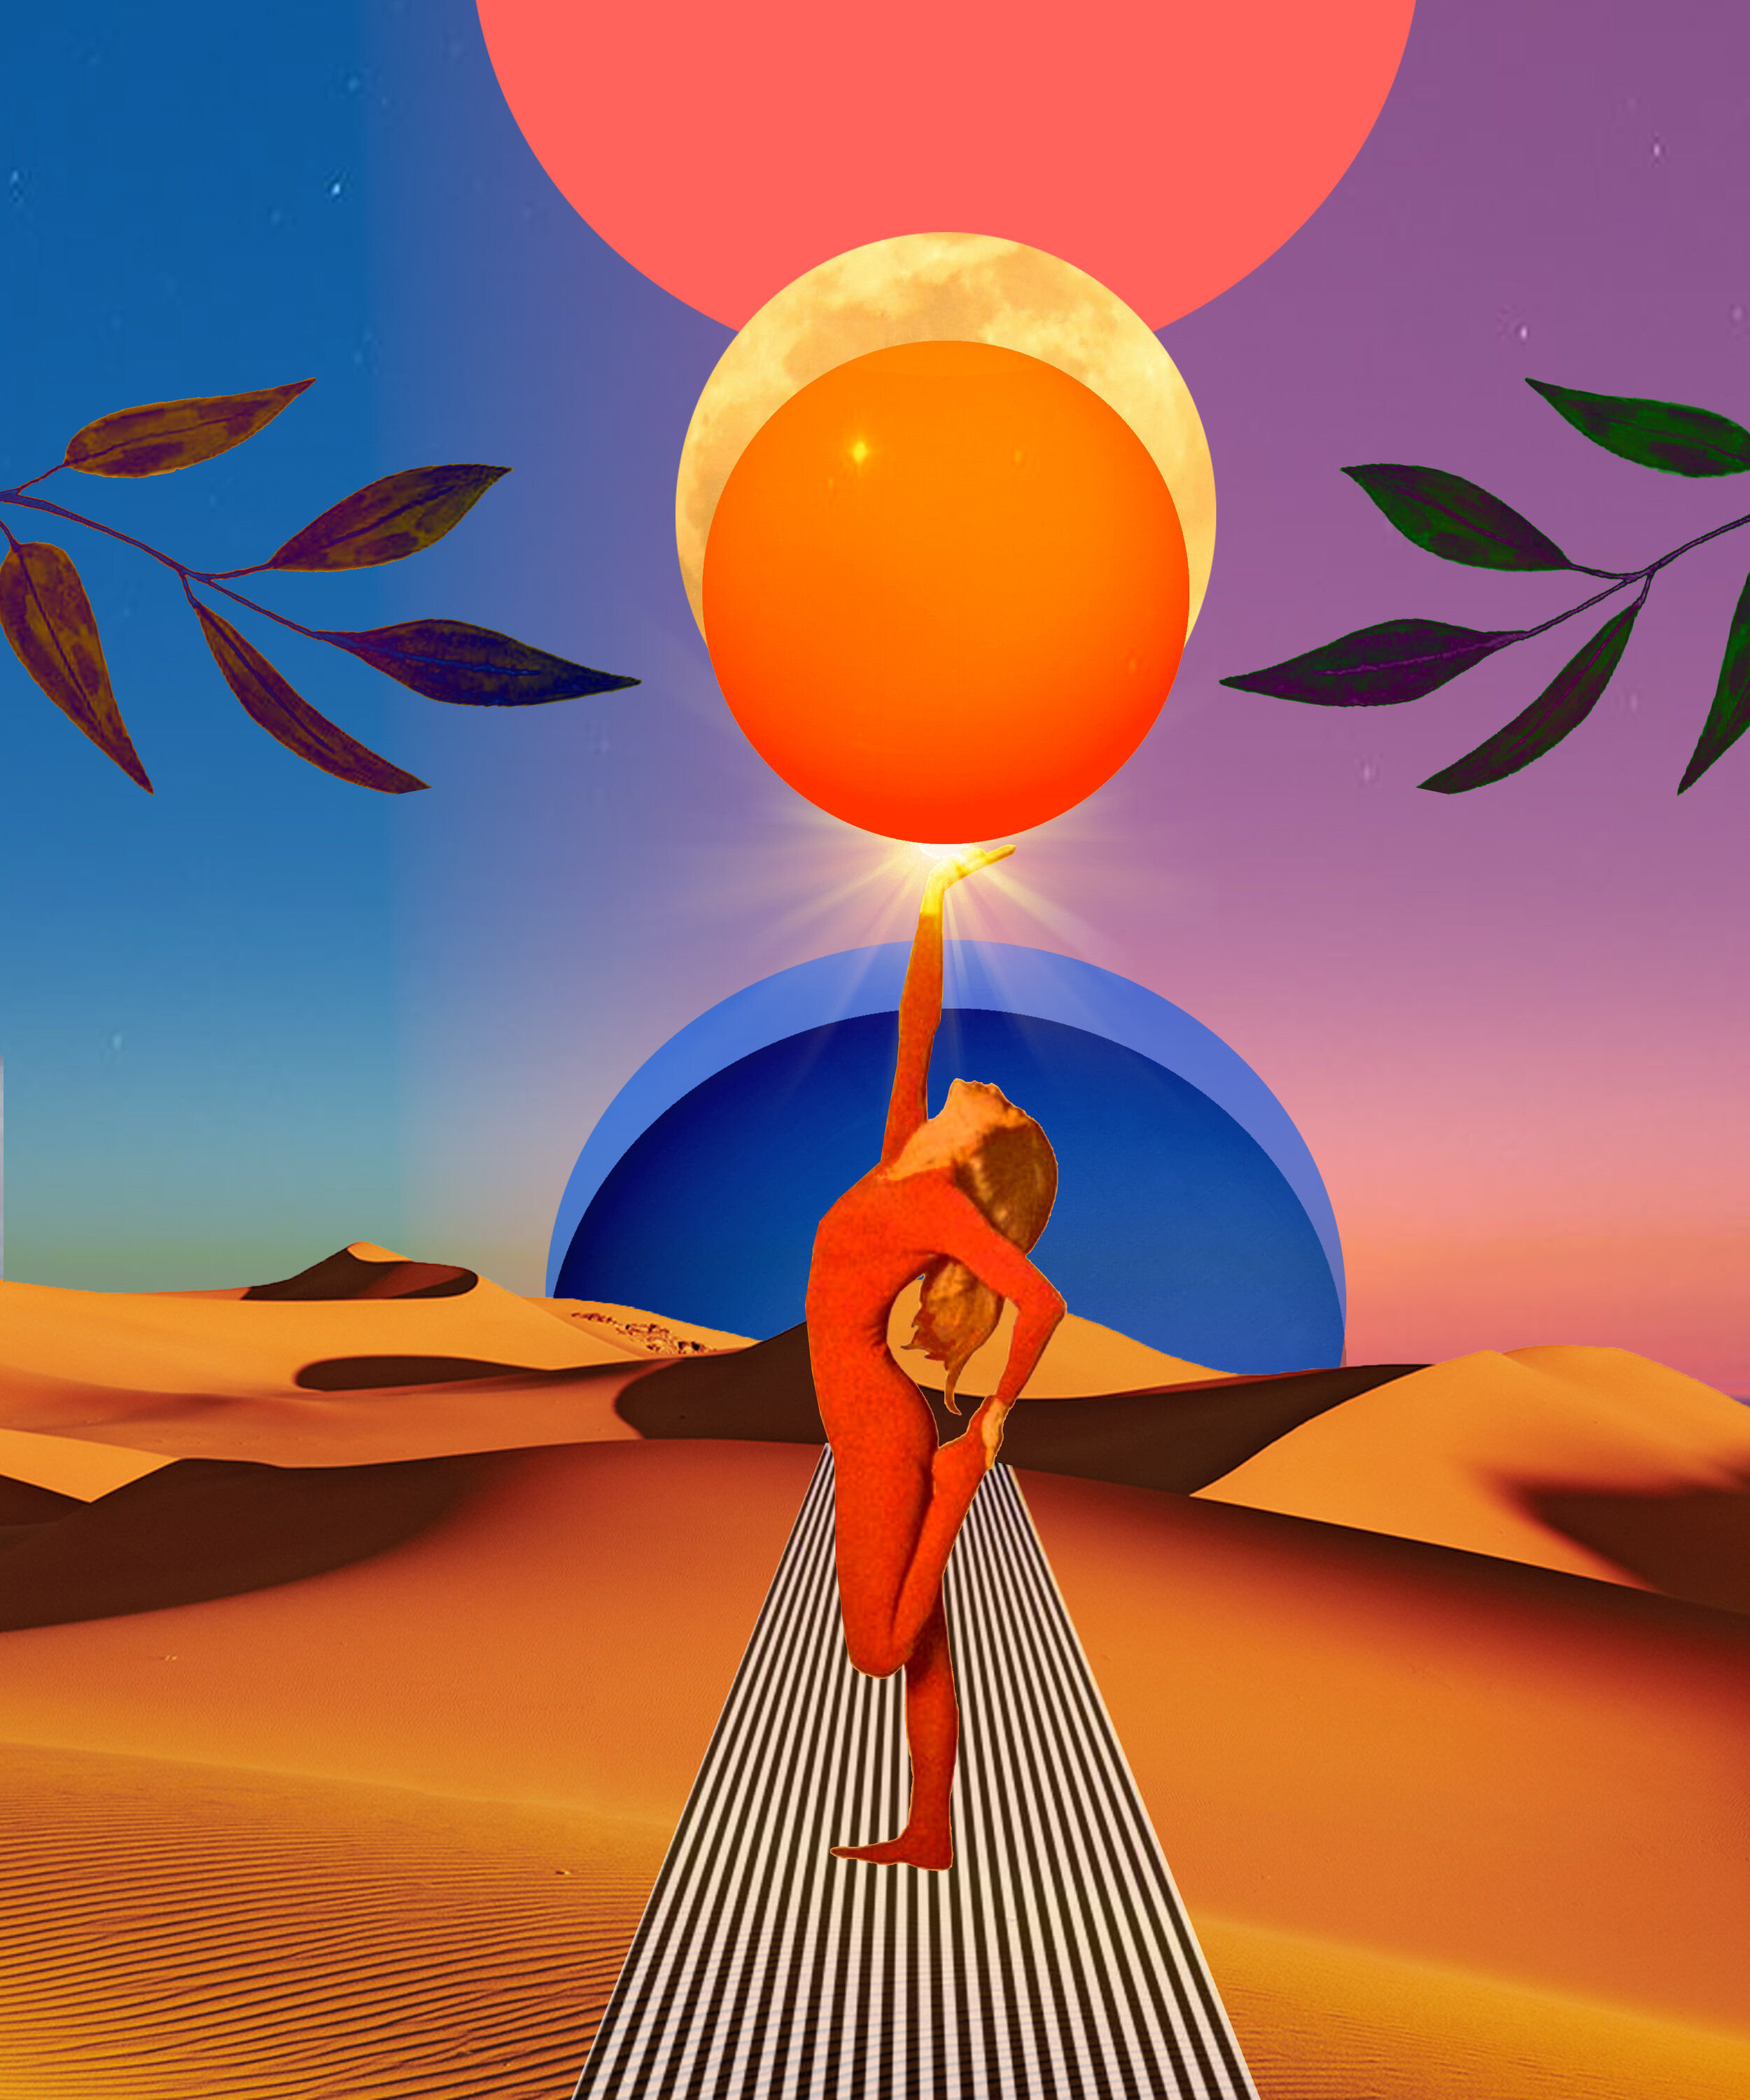
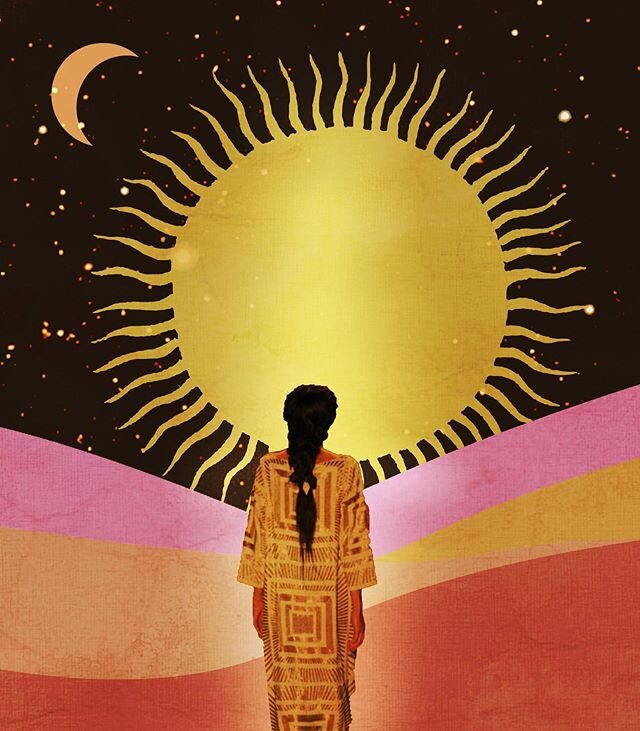
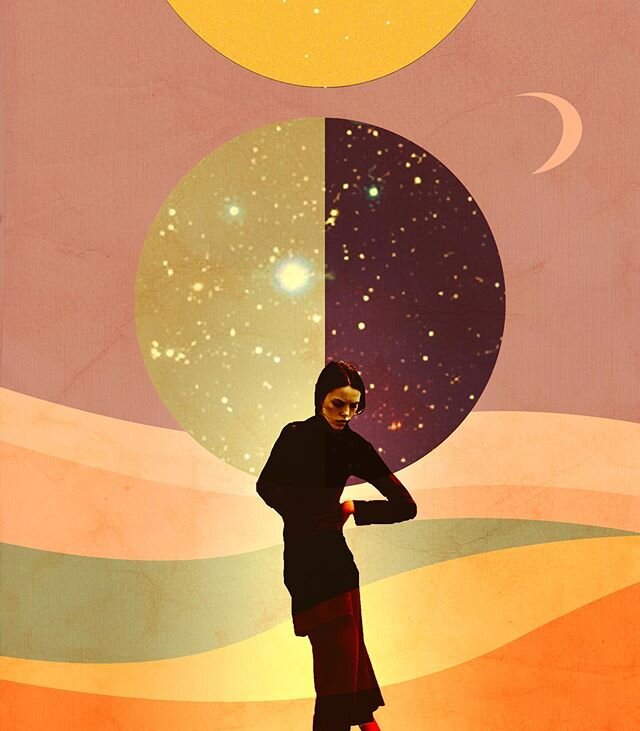
This piece, ‘Sun and Rising’ is a combo of Photoshop and Illustrator. For more work like this, check out my Instagram page or Website gallery.
4. Pick your Program
Once you have gathered your materials, color and lighting pallets, it’s time to select your program. My program of choice is Photoshop. I know I know, it’s not free. To me, it is absolutely essential to what I do so I’d happily pay for it monthly. You could always do a 30 day free trial. There are many other programs out there for image manipulation, but real talk: Photoshop is #1 (wanna sponsor me, Adobe?). To me, it’s worth figuring out.
Photoshop is very versatile, but where it reaches its limits, I bring in Illustrator. I’m well aware that Photoshop can be very intimidating when you start. It was for me. But just start playing with it and take the fear out of it. Practice makes perfect. I am pretty sure the way I do things on Photoshop isn’t the only/recommended/most efficient way. So what? Everyone learns their own methods while trying things out.
Note: I could easily turn this post into a Photoshop tutorial. That would be never-ending as the program is so complex. I’ll share my favorite tools and set ups along the way, but most things you can easily google on how to do. There are amazing resources out there for you.
5. Set up your dimensions and dpi
Your canvas can be any size but be careful. If you’re using low resolution images in your library, you might want to make the overall dimensions of your piece smaller. I probably wouldn’t go much smaller than 10 inches height though, otherwise your image will pixelate easily. You always have the option to modify your size later, but making it bigger after the fact, you will loose quality. I also always set the image resolution to 300dpi for best quality. Here in images:

On Photoshop, go to File…New… in the top bar

Select your settings or a preset.

Here is an excerpt of what my workspace usually looks like.
6. Play play play with your program
Any computer program takes time to master but the most important thing is that you start to familiarize yourself with the software and get curious about the tools available. Cut things, move them around with the selection tool, and layer them. Just figure out what processes work for you in Photoshop. It will take a while to figure out — don’t get discouraged.
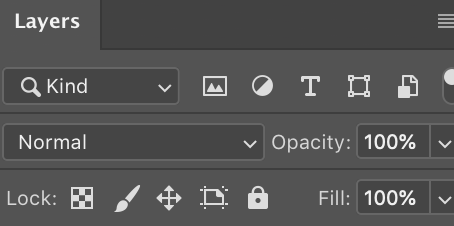
Blending mode drop down menu on layers panel (set onto Normal here)
7. Make layers your bffs
Start the collage by importing your images onto layers. You will definitely come to work with layers in Photoshop: they are probably the most important concept to understand about the program altogether. Again, there are wonderful resources out there explaining layers and basic compositing. I will link one below by Adobe itself.
My most important takeaway from layers are: Use only one subject, shape or image per layer. This will make your life so much easier when wanting to get rid of something in your collage, play with settings/shading etc. for one particular piece of your work, or simply moving something into the foreground (you can simply drag the layers up to come to the foreground of the one above it.) One simple tool that I often use with layers is the Blending Tool that will appear as a drop down menu on top of the layers panel. It makes for super interesting shading and effects. Give that a try.
8. Make a background and learn to love gradients
I often start my composition by making a simple background. I personally don’t like staring at a white canvas, I’d much rather edit/ cut / combine my images in front of color, and I will often end up using the background I made initially in the finished collage. I like to have gradients of usually two colors here. Let me show you how I do it:
You’ll pick two colors that you want to blend. At the bottom of your Photoshop toolbar there are two color swatches. When you click directly on the first one, you can pick a color from the spectrum. You can also hover the Color Picker tool over any color on imported photoshop images, to get that color as your swatch. To flip between the two and find your second color, simply use the little arrow next to the swatches .
Next, select the gradient tool on the toolbar. In the top bar on Photoshop, click on the color display gradient to get into the Gradient Editor. Here you can play around with different gradient uses of your own or preset colors.


Swatches (all the way at the bottom of the toolbar for me — see left). Use the arrow to switch between swatches.

Color picker tool. To find any color in an existing image in photoshop

Next, I will select the gradient tool on my tool bar.

This or some kind of form of this Gradient editor tool will appear in your top bar. Click directly on it.

Gradient Editor to pick your gradient of choice.
Next, make and select a new layer. If the Gradient tool stays selected, you can now do the following: A little cross hover will appear on your canvas. Now you can click it and you’ll see a line appear when you keep holding the mouse and drag it across your canvas. Create some distance between your click point (let’s call it point A) and the the release of the click point (Point B). Once you release, you’re gradient will appear. I will often do my Points A and B outside of the canvas so the background is bigger than just canvas size just in case.


Select inverse: option to reverse your selection.
9. Figure out your digital scissors and get cuttin’
Once you have your background, you can add on layers of images and begin to cut them and arrange everything together. I’ll show you some of my favorite cutting tools here that you can always watch tutorials on them. One thing that I use all day long is the select inverse command on photoshop. It will inverse the selection: So if I select my main subject and inverse it and then press delete, all but the subject will be deleted.

Markee tool. Select an either elliptical or rectangular area and click delete.

Quick selection tool. Simply select the area you want to delete.

Magic wand tool. Select areas of the same color or color family.

Trace shapes and press delete to cut. You can also use the magnetic or freehand lassos.

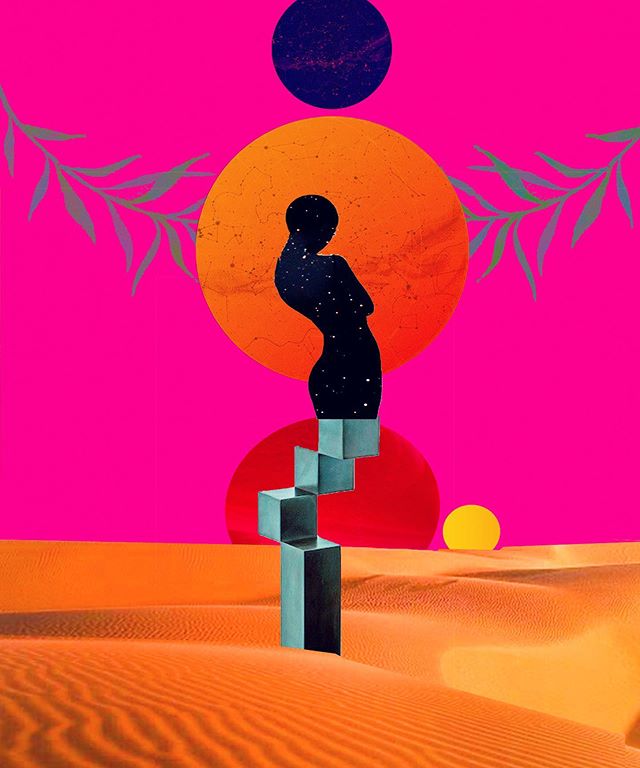
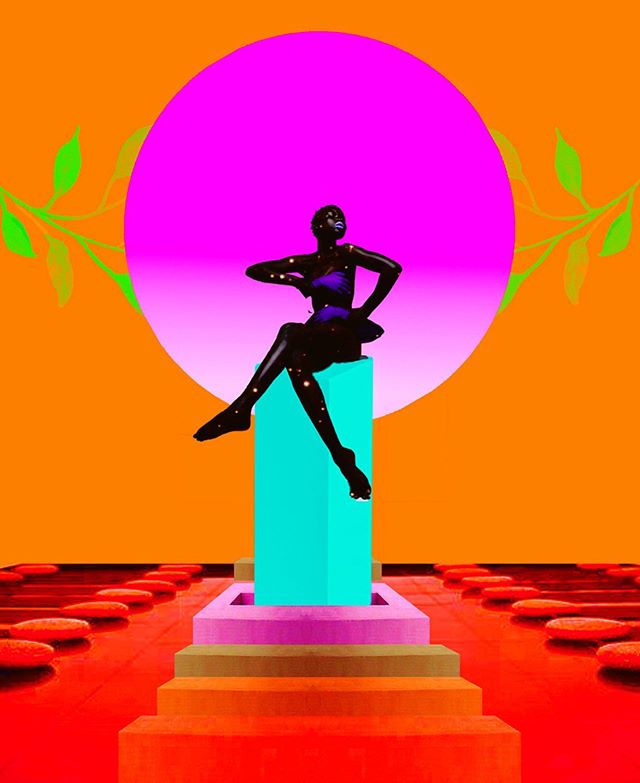
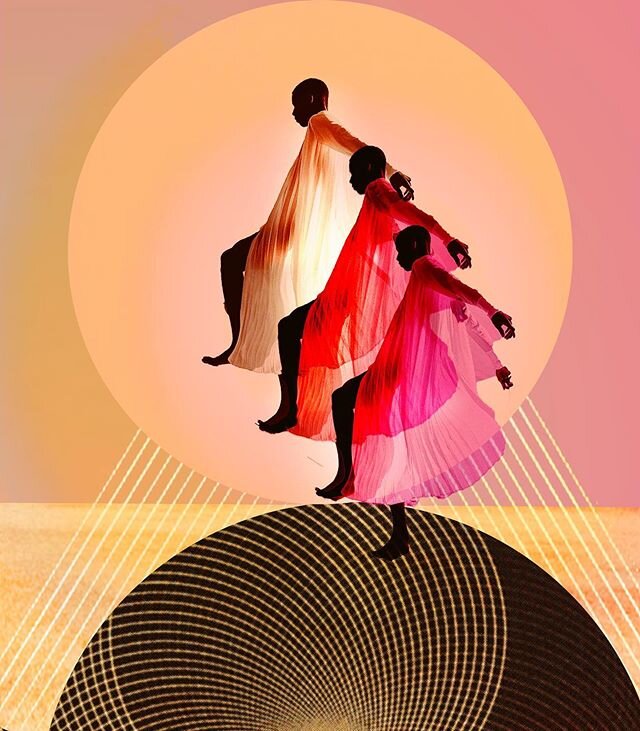
‘Spherical Being’ collage.
10. Keep your composition principles but remember why you went digital
Sometimes, with the overwhelm of the digital aspect of creating, people forget basic concepts of composition that they’d intuitively go to in analog work. In post ‘Make a collage - 10 practical tips’, I mention a lot of tips for composition if you want to check back in with that once in a while.
Do also recall why you wanted to work digitally – so actually make use of the fun new tools available to you in this space. You simply can’t make an object double or transparent when you work analog, so that stuff is what it’s all about.
Just have fun with all of this. Give yourself space and time to explore. Allow yourself not to have to be perfect at something you are just figuring out. I hope these tips were helpful. Let me know if you have any questions and link up with me. I’ll leave my instagram down here – feel free to send me a DM.
x Nat
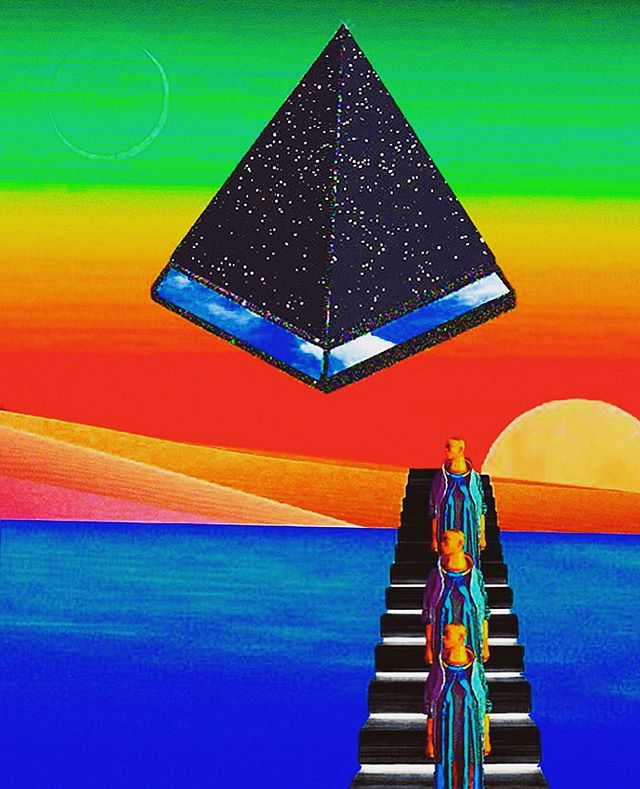
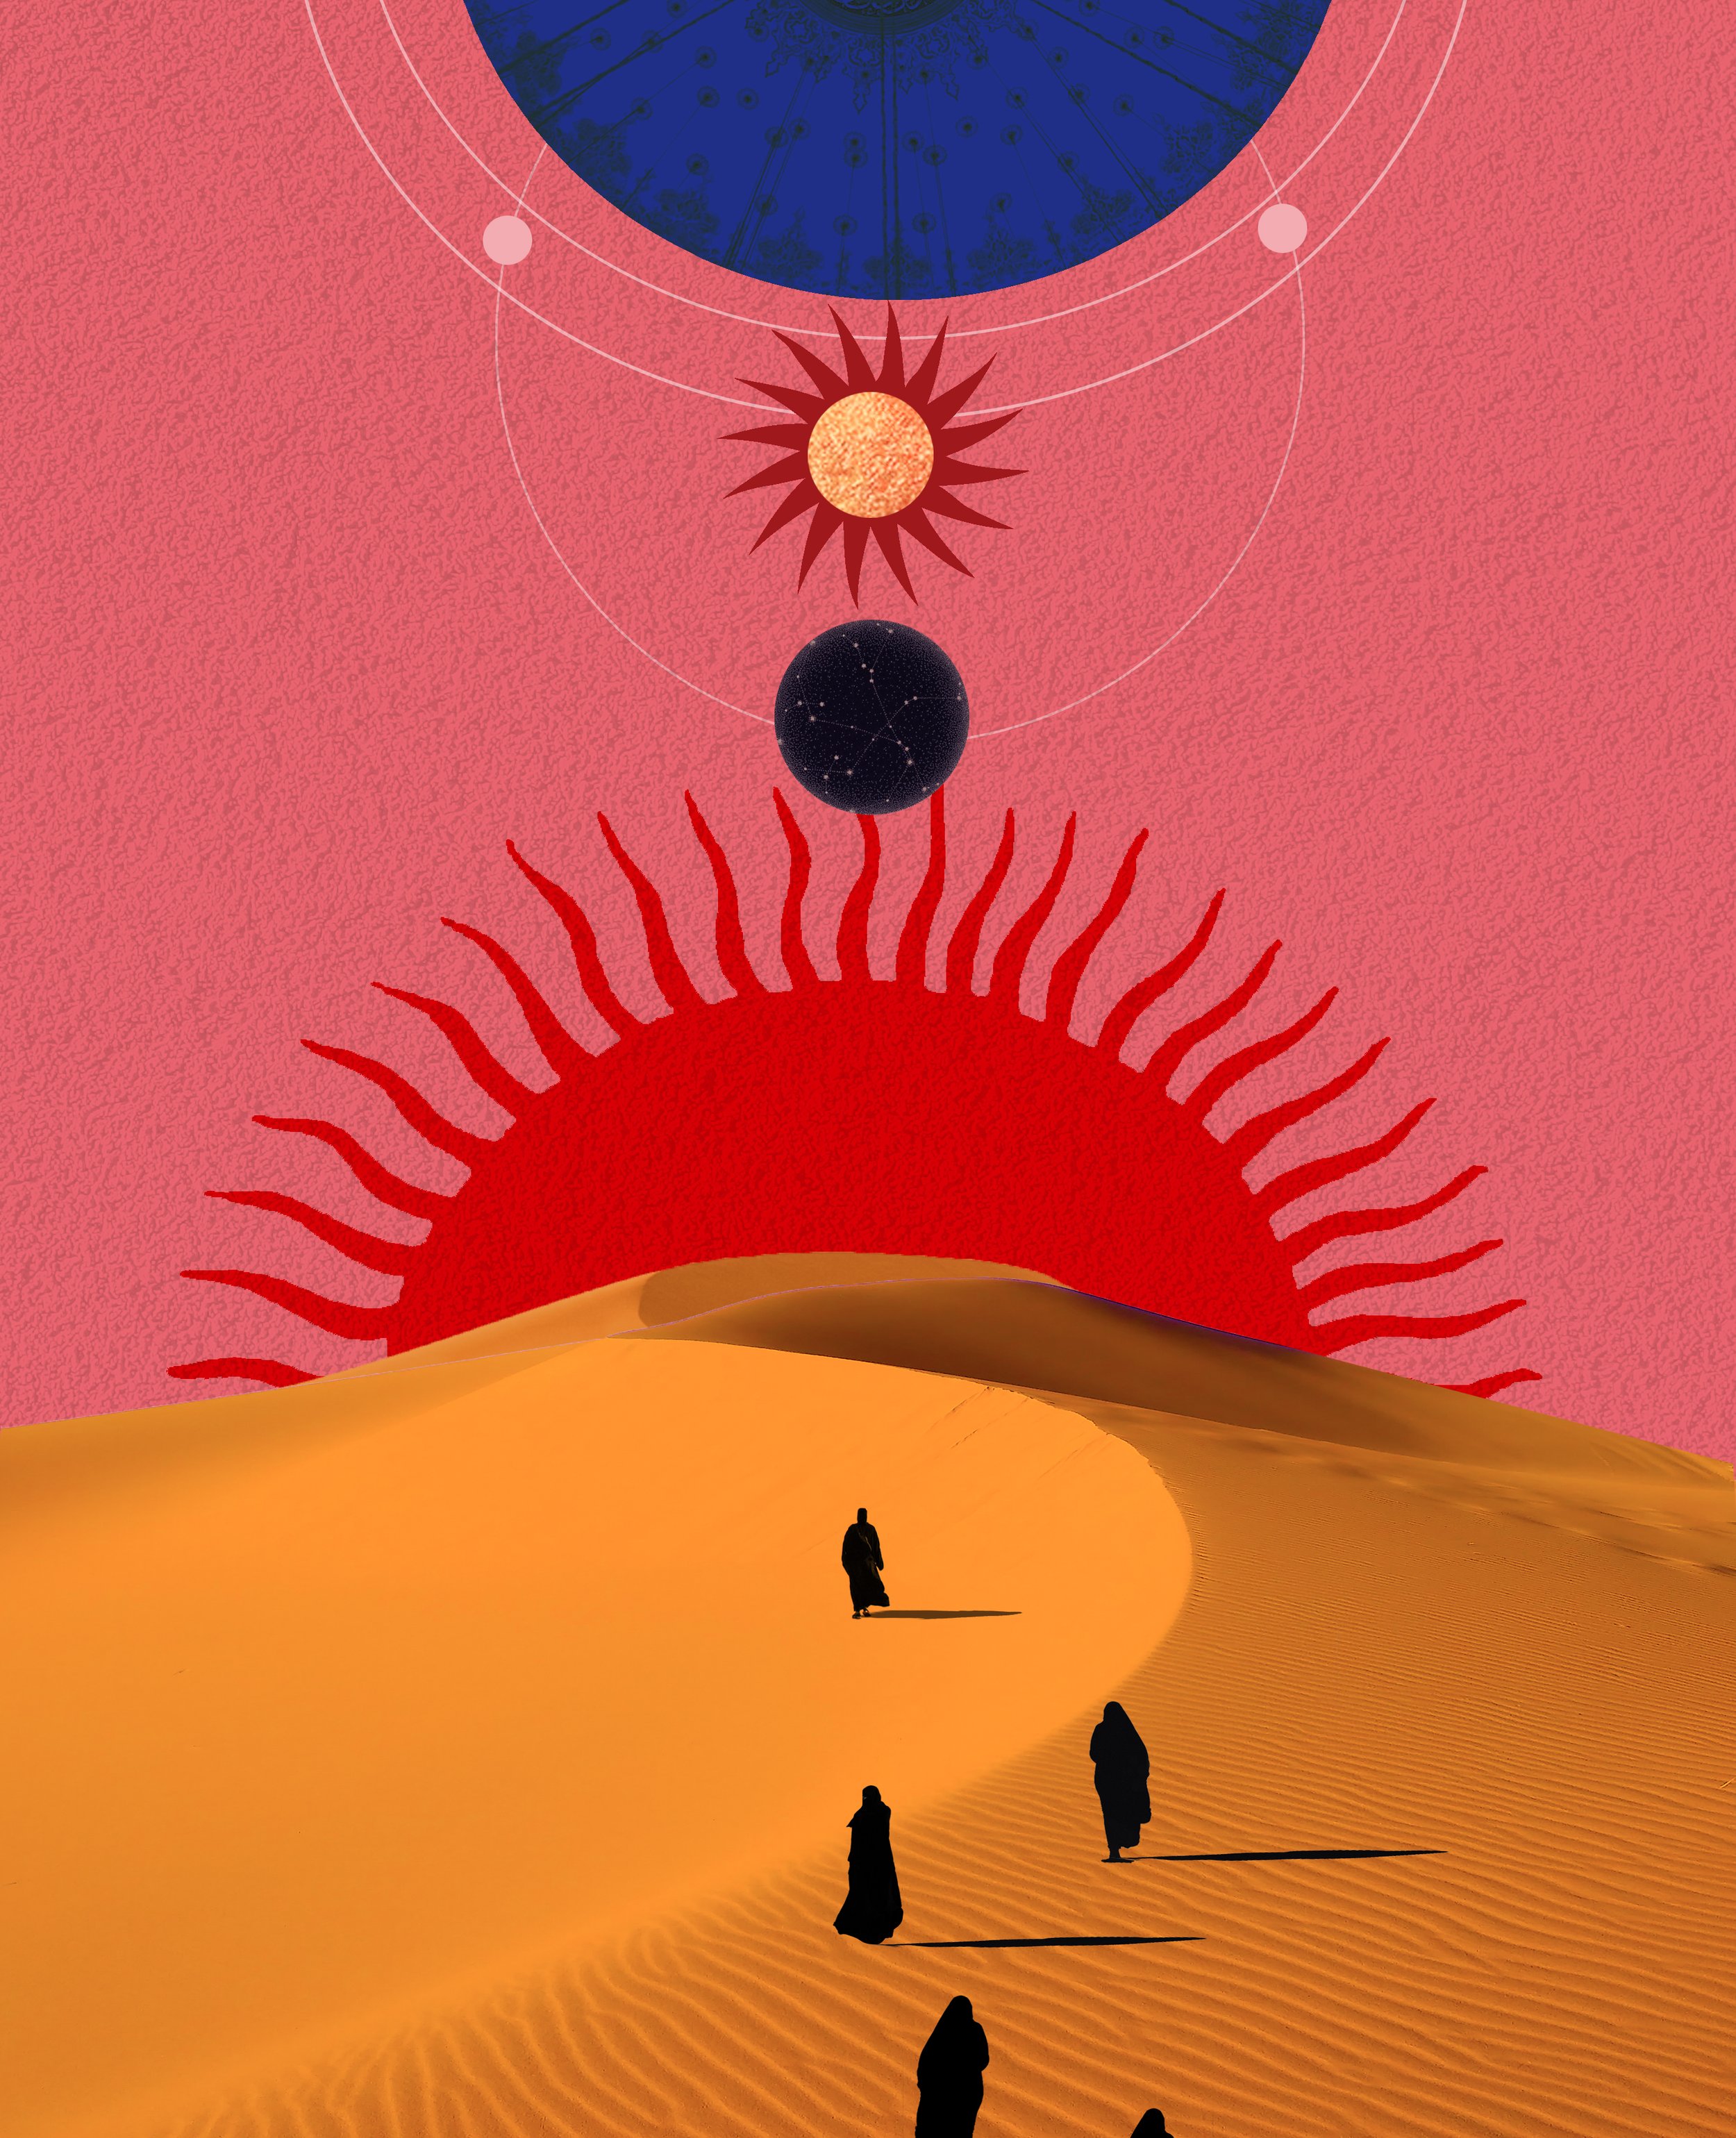
‘Cosmic Footprint’
Happy end of 2018!
As the year is coming to a close, so is my exhibit 'Close Your Eyes' at the Storefront Project Gallery on Orchard Street. I'm really happy with how the show shaped up and all the beautiful faces I got to see at the opening. If you haven't been able to make it yet, this week is your last chance. I will be back from Europe on January 4th, so if you'd like to set up a gallery visit I'd love to be there to chat with you – let me know.
Open until January 6th, Tuesday through Sunday 1-6pm
The Storefront Gallery presents:
Close your Eyes by Nat Girsberger
70 Orchard Street
New York, NY

Me in front of my piece ‘Intruders of the Night’ 4.5x5.5 ft

View from outside the gallery displaying my show
Article on the show
I am beyond grateful that magical New York Times and Vanity Fair writer Kurt McVey wrote a gallactic review of the exhibit in Whitehot Magazine. What will you find when you go beyond the rabbit hole?
Kurt has been a long-term collaborator and dear friend of mine and knows my work better than most anyone, and we've really come full circle working together this year. In other words, he nails it and does with words what I attempt with collage.
Read Kurt's article for Whitehot on 'Close Your Eyes'
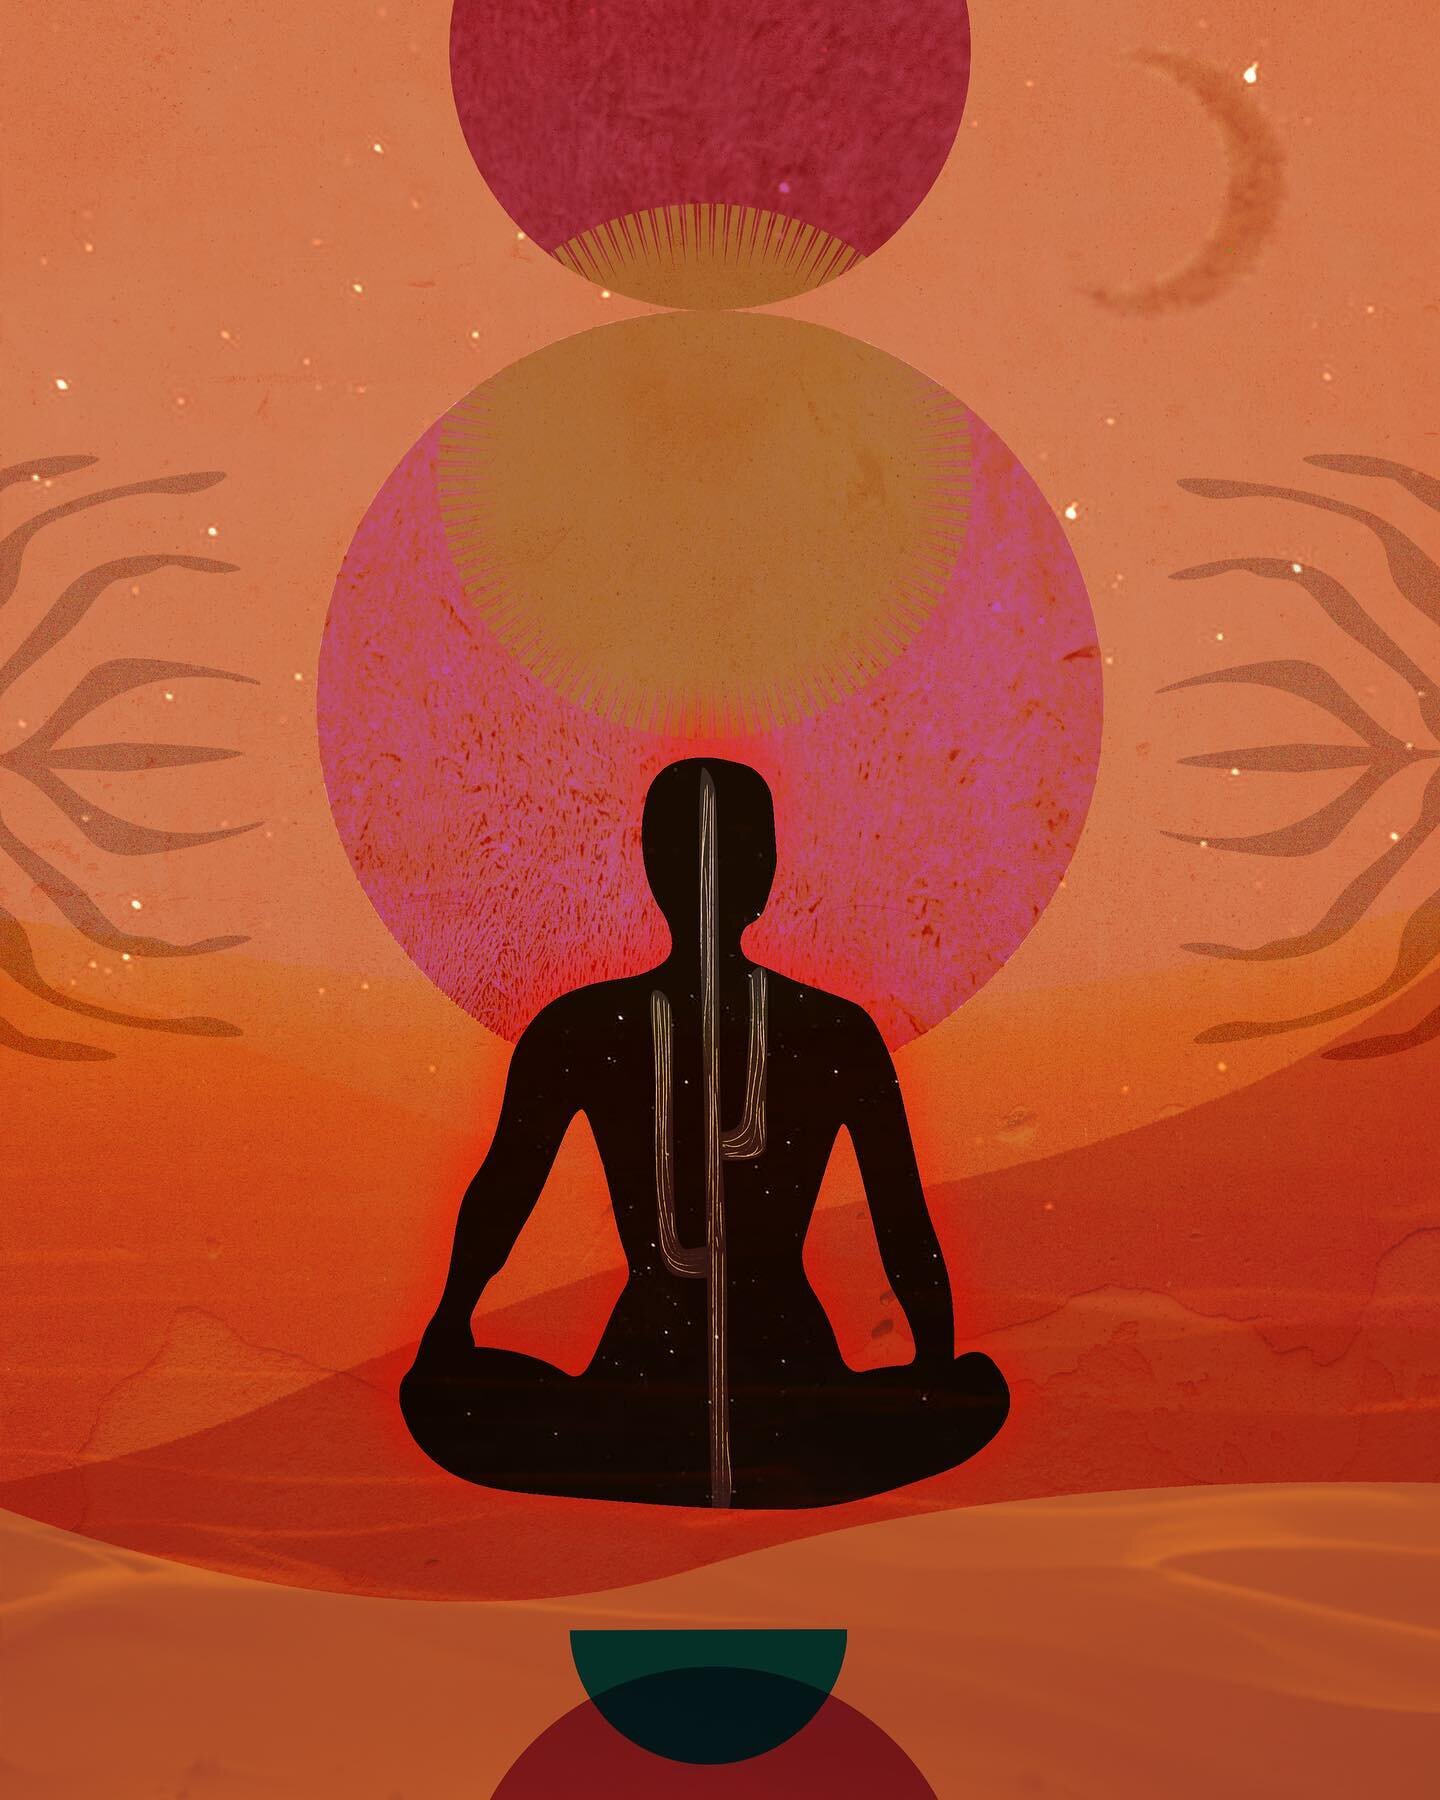
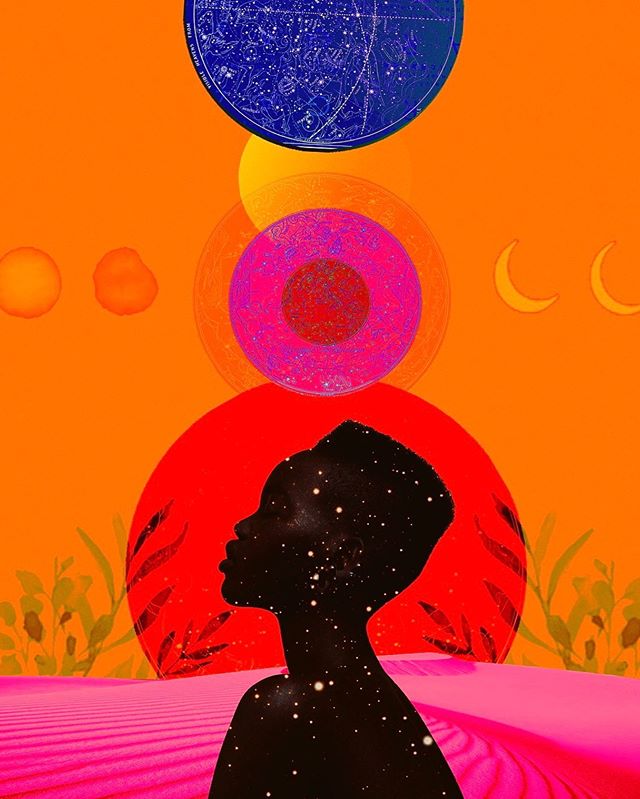
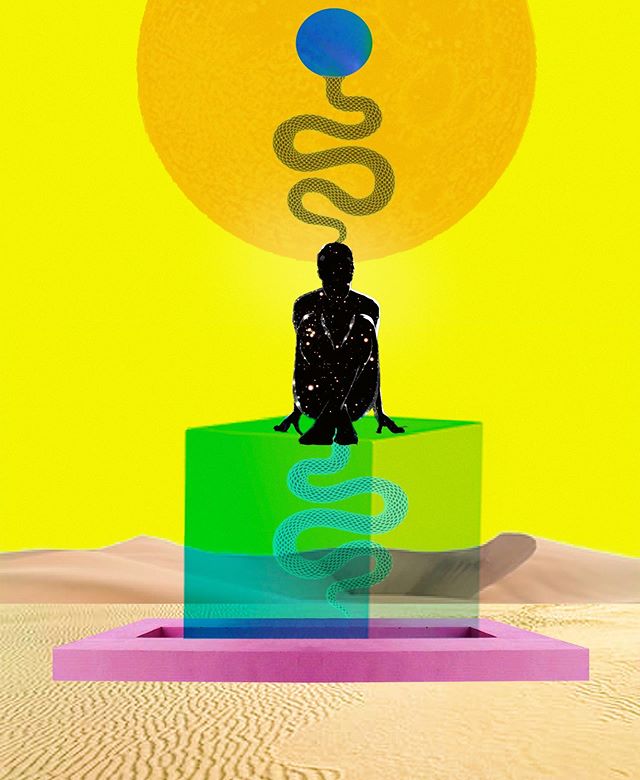
Core Consciousness, digital collage
2018 has been a fascinating, interesting, transformative, challenging year (as they tend to be, right?). I continued my path in what I feel is acting according to my purpose: creating artwork that gently opens viewers (and me) to their expansive inner potential, so that they can create a reality they'd like to be in. That's my dream for the planet, and I hope to keep at this vision in 2019. For now, it's nice to pause and think of everything that's yet again changed. I'm sure a lot has happened for you, as well.
In 2018, I've also been able to travel and explore wondrous new realms, which I am excited to work through visually. Thank you all for your continued support, lessons and aid in growth.
New work
When traveling it's nice to not completely give up my practice, since I don't have the studio, so I enjoy making digital pieces. I've actually quite liked taking the collages to photoshop, as it opens some new tools and explorations for me. But – I am still a very tactile person! I will definitely keep cutting things out (and I mean that literally as well as metaphorically) and layering new pieces as I continue my artistic ventures.
In early 2019, I have an extensive commission for Universal Music Group coming out soon that I'm looking forward to sharing, and I am going to paint a mural in Brooklyn. I can't wait for all the other adventures and for our paths to cross this coming year. But before that, I wish you a very happy closing of 2018 and a smooth transition into 2019. May 2019 be deeply fulfilling.
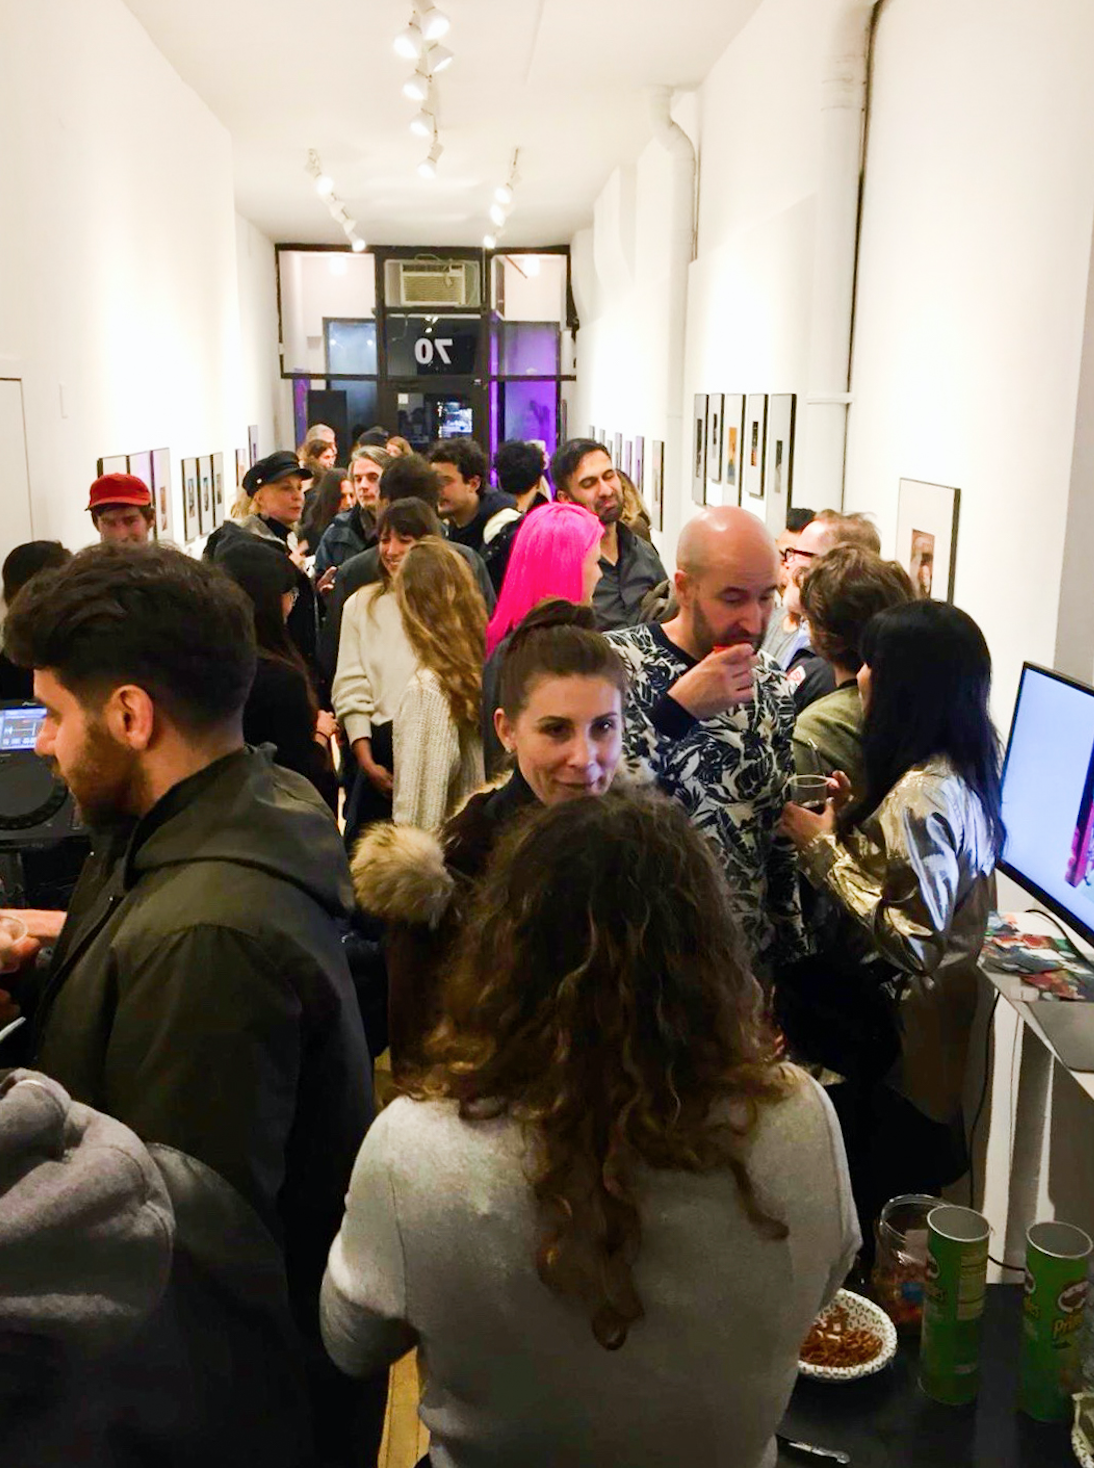
From ‘Close Your Eyes’ opening night
Upcoming Solo Exhibit at The Storefront Project Gallery
Opening Reception 12/13 6-9 pm, 70 Orchard Street, NYC
The Storefront Project Presents: “Close your eyes” Nat Girsberger
Close your eyes. Notice the patterns and colors that appear behind closed eyelids. Hear your thoughts and notice if they have a tone, a color, a pattern. Then tune into your breath and observe all the hues that reside between an inhale and an exhale. Let this experience gently open your inner eye, and direct your gaze towards the myriad of layers that make up the universe within you.
Nat Girsberger’s Close Your Eyes observes the layers of the inner world through mostly analog collages. Her body of work creates a visual meditation journey into the surreal, colorful depths of the psyche. She examines an unconscious freed from the structures of a too open-eyed ‘reality.’ In Girsberger's view, that reality has been constructed by a collective unconscious enslaved by an effort to organize itself in the world’s physical expression. Trauma and conditioning have been stacked like pieces in her work and are in desperate need of reassembling. Girsberger’s show softens our control on what we allow into our immediate perception, so that we can gently access our psyche’s ever-expanding potential to explore gravity in a new context, travel through time and enjoy it, too. Close Your Eyes aims to catch up the visual sense to a unified field ready to emerge into the physical realm, as to ultimately create a fuller experience of our truly surreal existence - while still being in and of the world.
Nat Girsberger collaborates with her unconscious to explore the infinity of her psyche to break the structures that externally limit her inner vastness, by applying an instinctive ‘automatic’ work process. Through collaging, the subconscious mind finds new relationships by juxtaposing what does not usually go together. It challenges reality by encouraging the dialogue between ego and what is unknown to it.
“My work encapsulates the past, present and future to defy the limits of what we perceive. My traditional, hand-made approach, in conjunction with using vintage imagery, allows me to deconstruct my experience as an artifact of my past and external world. I intuitively venture into futuristic realms to reconstruct that experience and expand it. Ultimately, I aim to create a more satisfying way of existing as a being of the present, a present in which I am quite capable of embracing my transient core. I want to gently open viewers to do the same - connect to their inner multiverse to assemble a reality they want to live in.”
Take a deep breath and bring your awareness to any inner colors once more, notice if they have become more vivid. Gently open your eyes and let your internal and external colors mix. Now it is up to you to really see.

About the artist
Nat Girsberger is a Swiss visual artist based in Brooklyn, New York City. Girsberger holds a degree in visual communication from NYU and specializes in analog collaging, taking commissions in her Bedstuy studio. Girsberger also works as an installation artist and production designer, and is a committed student of meditation and yoga, which influences her art both visually and conceptually. Her work has been exhibited in various medias across the globe, including Whitehot, Kolaj and Art Reveal. New York City exhibitions include a pop-up solo show at Ivy Brown Gallery, hosted by New York Times published art writer Kurt McVey, and group shows at Carrie Able Gallery, Wallplay and Gallery Sensei.
Nat Girsberger’s Close Your Eyes opens December 13th and runs through January 6th, 2019.
I love writing about experiential/existential realms, but in this post I want to get practical. I think infinity always needs containers, and my own infinity becomes visually embraced by the structures I impose upon them, some of which are practical.
When I started to make collages I had NO IDEA what I was doing at all, I just knew that I needed magazines, scissors and glue. For me it was a practice of figuring things out, which was great. At the same time I wish I’d had some pointers. Writing these tips, I realize that they are essentially catered towards artist that want to create a seamless, well-blended collages to create worlds that seem like they exist somewhere in the style I use (vs. the ripped aesthetic that can also be super cool). What follows are some pointers that can hopefully facilitate or inspire your own experiments, whether you’re new or seasoned at collaging.
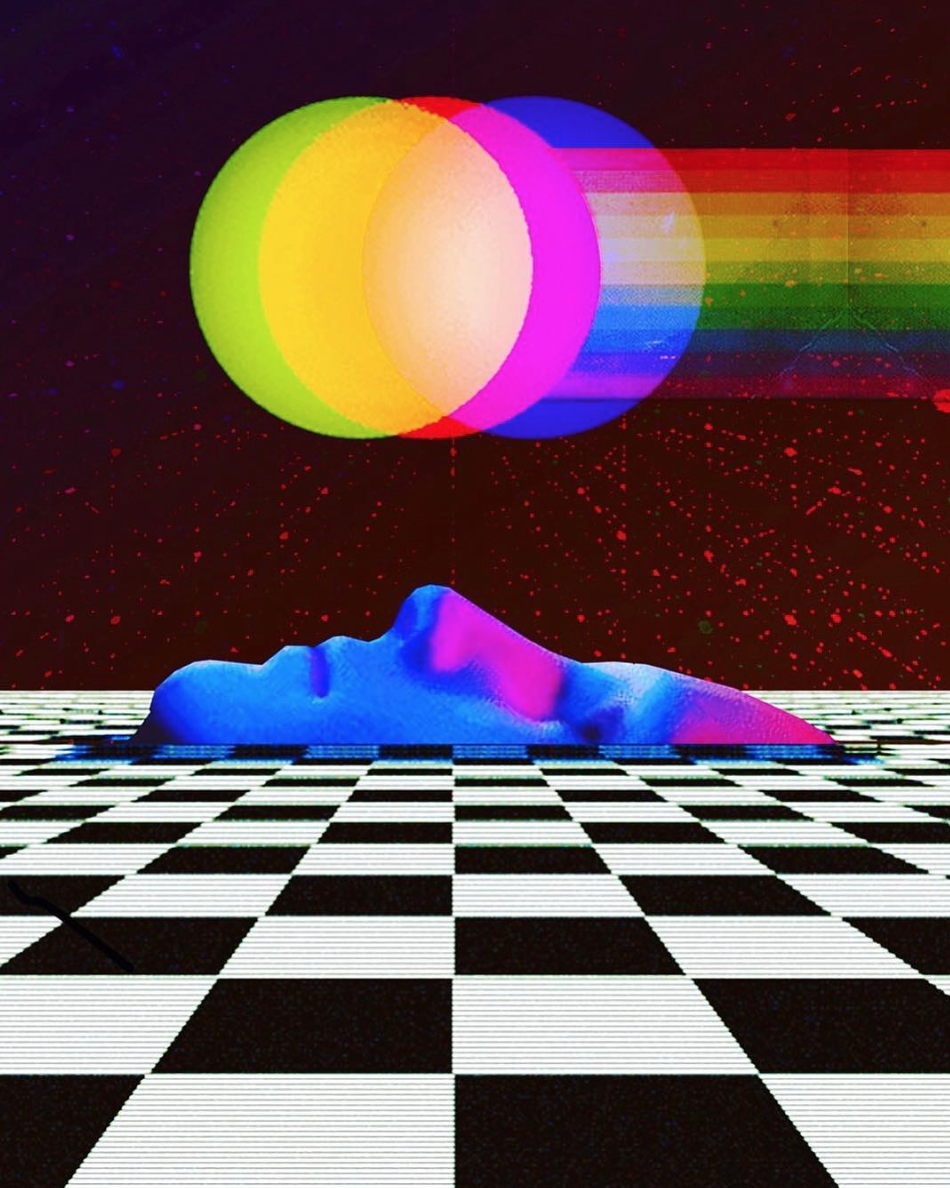
Collage ‘Beyond The Visible Spectrum.’ For more work like this, check out my instagram.

The older ones that I love look different (no photo on the cover), which makes them easier to spot.
1. Get really thrifty
A surprising amount of time goes towards sourcing magazines. I love National Geographics for my pieces, and I’ve been loving the older ones, from the 40s and 50s (which are harder to find and usually more expensive). I also use Life magazines and optical illusion books. Craigslist/Ebay will have some, but I usually prefer to find them in thrift shops/flea markets all over the world as I’ve always had a thing for nostalgia. This way I can also see what imagery I’m buying, and the materials tend to be cheaper in thrift shops than online.
I actually started my body of collage work after I went hiking and stopped at an antique store. I randomly picked up a vintage LIFE magazine, and got fascinated by the imagery. I tend to befriend the owners of these stores, and ask them to be on the lookout for a specific type of magazine that I’m looking for. They more often than not get invested in the work and want to help out and call me when they find something along the lines.

Collage ‘Road Trip’
2. Match textures
I try to only use materials that have the same texture in one collage. So I would never use a vintage image on thin paper with something that I cut out of a thicker catalogue. To me, it will make it stand out too much, when I aim for an even texture and a well-blended piece.
3. Don’t ditch the scissors
I know a lot of collage artist use exactoknives but I actually barely do. I’ve found scissors to cut much more precisely, especially very thin paper. Weirdly my preference is singer sewing scissors.
If you place points of interest in the intersections or along the lines, your composition becomes more balanced and will enable a viewer of the image to interact with it more naturally, as studies show.
4. Cut inside of the lines
When you cut out any given shape or figure, don’t cut on the edges exactly - cut off a little of the line that separates a shape from its background. That way, when you add the shape into a new environment, the new composition will naturally create an edge to that shape. This way, it all blends better. My often have a depth of perspective but also look flat and smooth, and that’s really why.
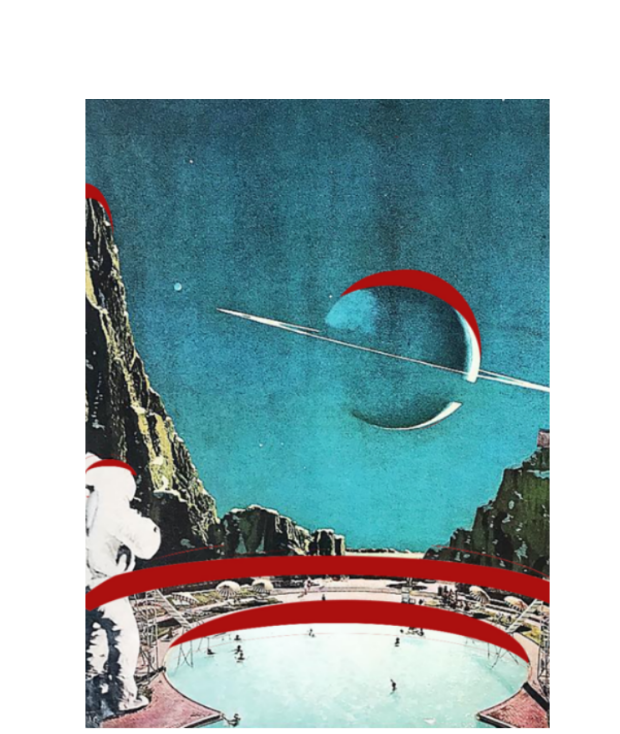
5. Use a circular cutter to make your own planets
Another collage artist gave me this tip and it has proved infinitely helpful. You don’t need to find planets all the time if you’re into spacey imagery like me. You can also use pretty much any sky background or solid color with some texture for a DIY planet if you have a circular cutter.
6. Know when to use your exacto
I used to apply stencil methods to try to integrate part of a figure into a given landscape. Kinda ridiculous how long it took me to figure out I cut simply take my exactoknife, cut into the given landscape (along its natural curves) and stick the figure right behind it.
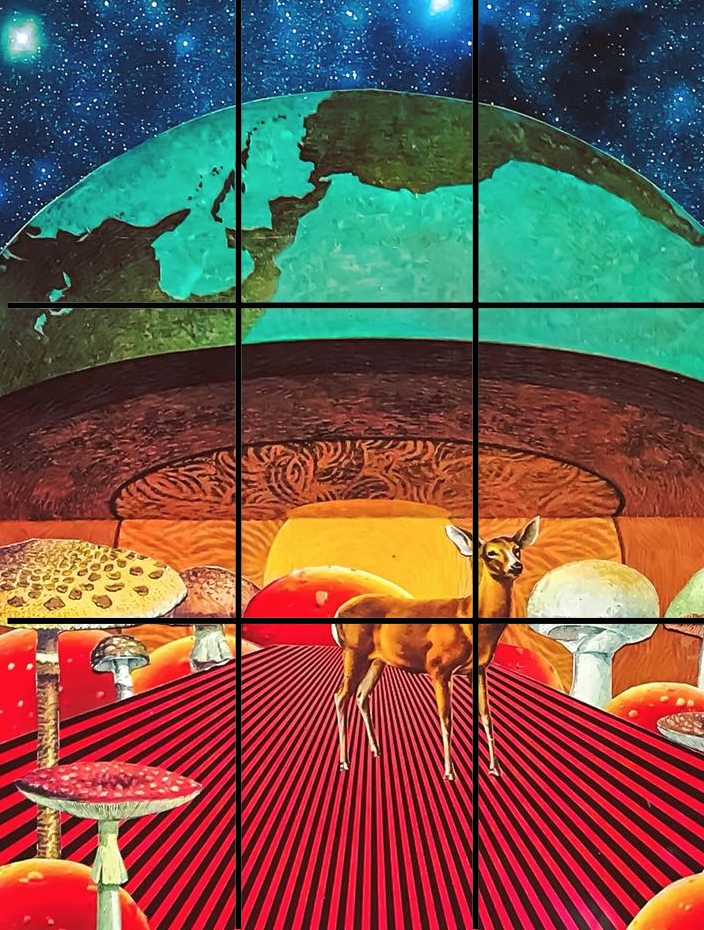
The deer is the point of interest here. Collage ‘Shroom Room’
7. Rule of thirds
My collages definitely depict dreamscapes that have a foreground, subject or point of interest, and background. I have a photography background, so the rule of thirds is something that I use without noticing all of the time, as its gotten so engrained into my visual sensitivities
To apply this, you would break the image down into thirds (both horizontally and vertically) so that you have 9 sections.
8. Repeat colors
I tend to create a feeling of looking inside, and blurring lines between the subject (in my work often a viewer) and her environment. So one trick I use is to pick one of the colors I used in creating my background on the subject itself.
See how the color of my subject’s shirt is reflected in the pinks in the trippy sky visuals he’s looking at? actually a lot of colors from the sky are reflected in the foreground. Collage ‘Close your Eyes’
I marked the re-appering curved shapes I used here. Collage ‘Not What I Expected’
9. Repeat lines/forms
This one is a little more subtle and depends on visual sensitivities, but I like to work with pre-existing lines and shapes (properties that the images I pick have) and use similar forms in one piece. Let’s take my collage ‘not what I expected’ as an example.
Don't see this as a set rule - You can take it as far as you want, it’s really fun to play with. Sometimes I try to match my subjects curves to the environment, and sometimes it happens very intuitively.
10. Ruin your lungs with spray glue and spray glue only

I really recommend using spray adhesive as your form of gluing. I usually glue AFTER I have the whole composition ready.
When I spray my images (from the back, someone asked me that recently), I hold the image about 1-2 feet away from the spray for three reasons: 1. the image doesn’t get too too wet (aka with vintage imagery transparent). 2. It’s not spotty but evens out nicely that way. 3. This way, you can also gently nudge your object around when it's already glued. My favorite brand is ELMER’s, followed by 3M.
That's 10. As artists we seek freedom to express, and real freedom is often found in the ability to have your own boundaries but still feel infinite within. I'm curious to hear if these tips help you. If you’d like to connect, you can do so here. I also just released tips on how to make a digital collage if you’re curious. Do you have additional tips? Let me know.

Collage to me is such an amazing metaphor for life and the interplay between the unconscious and ego itself, and so is my process. I like to think that how we do anything is how we do everything, so here's a little more background on how I make collages.
The way we perceive the world is in layers. Throughout our lives, we have all of these experiences that our unconscious stores, as to make up our unique story, our current experience – for better or worse. Ever wonder why you have behavioral patterns? Why certain things trigger you and others don't? Well, that's just being human, because we are made of an unconscious fabric that we began to weave from the moment we first opened our eyes.
Neurology will tell you that up until a certain age, we can't even register experiences in the then-underdeveloped right brain, so we process these things with only the left brain, which is less structured and more intuitive. So they return as bodily issues emotions without words etc. later on, as our unconscious still stored these things we processed with only the left brain. It's one reason why things that happened to us so early on tend to later affect us in a way that's challenging to grasp. A bunch of stuff gets added on with every day, some conscious, some not. Collage does exactly the same.
Then there's this thing called the collective unconscious, a term coined by Carl Jung, who has definitely inspired my thinking (I see a Jungian therapist who is incredible). The collective unconscious is the idea that certain layers are shared among beings of the same species. So things that happened to us a species over centuries, may be stored in this collective unconscious. This idea makes sense to me as I find that collage taps into that collective realm equally as it taps into my personal unconscious.
Collage layers materials the same way that the psyche stores what's happened to us, individually and as a collective. Picking material is effortless, similar to having experiences, and both the process and result is often non-linear.
My process is automatic (stream of consciousness) once I picked out the magazines I use. Thrifting and my preferences with materials deserves a whole lot more words and I will get into it in a different post.
I prefer to work analog, as it is less planned or conceptual from the start then digital, so there's time for the concept to form with the constrictions and possibilities of the material. It’s expansion (selecting lots of imagery) and contraction (arranging only a small selection), just like our existence itself.
When I'm at my studio, I automate the picking process as to let the unconscious arise naturally /without restricting it. I trust that my psyche will make me pick what needs to be addressed. What does that mean feasibly? It means I make a big mess by ripping hundreds of pages out of magazines that speak to me that day. Hundreds. Look at my studio floor and my studio floor and desk at the moment.

Bless this mess! Here, I'm working on the collage 'Kingdom came,' see the video about that below.

notice that I take my shoes off as not to ruin materials. Often people coming to my studio think it's a mess but they're actually ruining my babies.
As you can tell by the mess, it is an on-going process. Which is awesome, because a magazine that I thought I've ripped everything valuable out of a week earlier, all of a sudden feels completely new and exciting again today. And that's the art of reusing (: The messiness of my studio is a good metaphor for the messiness of the unconscious itself. So many things happening in there, so many things added up!
Anyway, once that is done, getting specific, I begin to integrate the layers. Assembling specific layers is the hard part, making something or re-understanding the set of materials, or experiences given.
I go through all that mess, that expansion, and try things out, try to get more limited. It's an attempt of recreating small glimpses of understanding we get daily.
I ask myself questions like 'How would this go with that? Do I like those colors together?' Usually, the less planned, the better. My unconscious is way more on point with the visuals than my ego. Whenever I think nothing's gonna come of what I'm doing (my ego feeling like it's on the backseat and has no say) is when my unconscious does the best work (raw and truthful).
Most times I finish a collage in the last hour before I have to leave the studio for that very reason. Here's a video of one of those last hour spent in the studio actually making the collage:
The very last part is trying to understand what the meaning to me is with my finishing touch. The ego is good at bringing things into complete form, and here's where I let it become part of the experience. If you want to learn more about this collage specifically, find it here .
I'll happily tell you more about the technicalities of my process (what scissors/glue I use etc.) in a later post should that be of interest.
For now, thank you for reading. If you want more collage talk here's my artist statement, or connect with me on Instagram.