I love writing about experiential/existential realms, but in this post I want to get practical. I think infinity always needs containers, and my own infinity becomes visually embraced by the structures I impose upon them, some of which are practical.
When I started to make collages I had NO IDEA what I was doing at all, I just knew that I needed magazines, scissors and glue. For me it was a practice of figuring things out, which was great. At the same time I wish I’d had some pointers. Writing these tips, I realize that they are essentially catered towards artist that want to create a seamless, well-blended collages to create worlds that seem like they exist somewhere in the style I use (vs. the ripped aesthetic that can also be super cool). What follows are some pointers that can hopefully facilitate or inspire your own experiments, whether you’re new or seasoned at collaging.

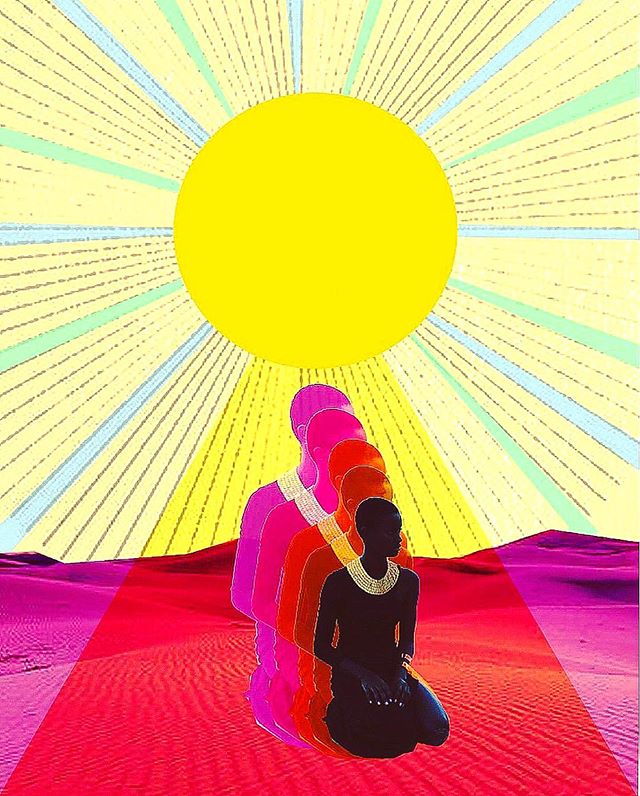
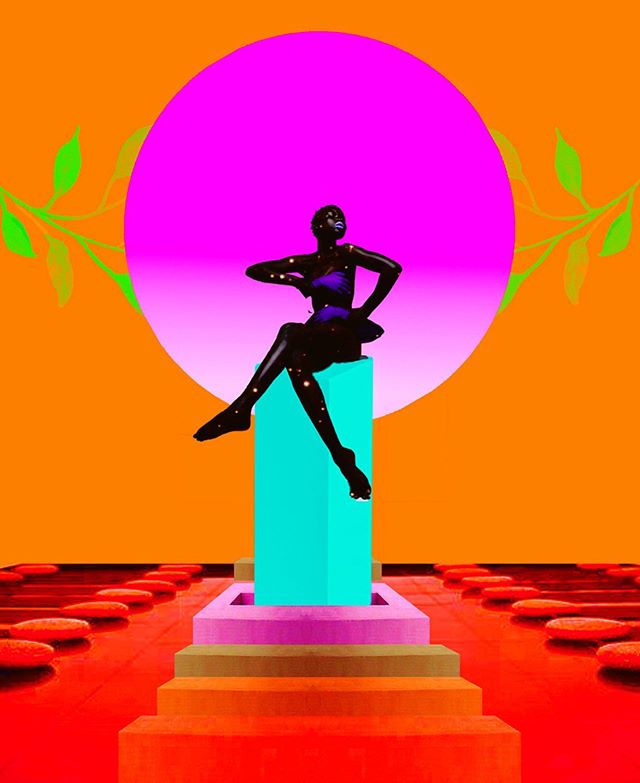
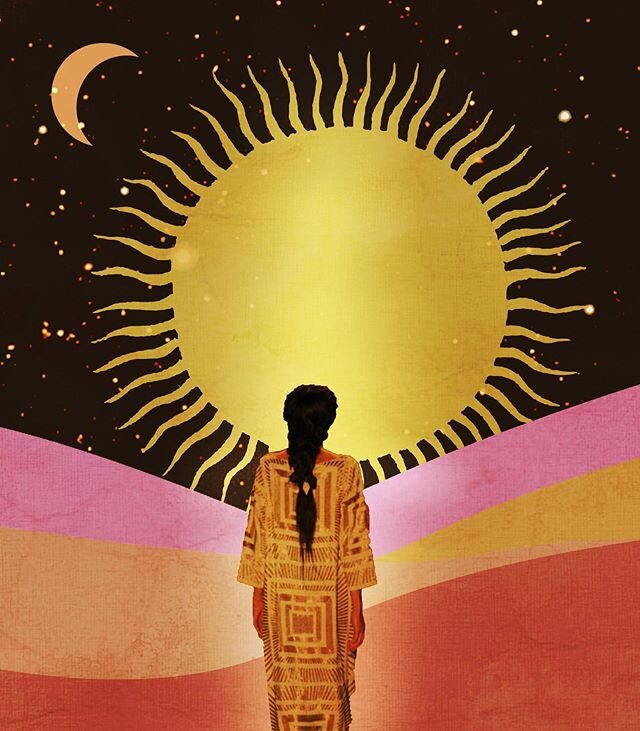
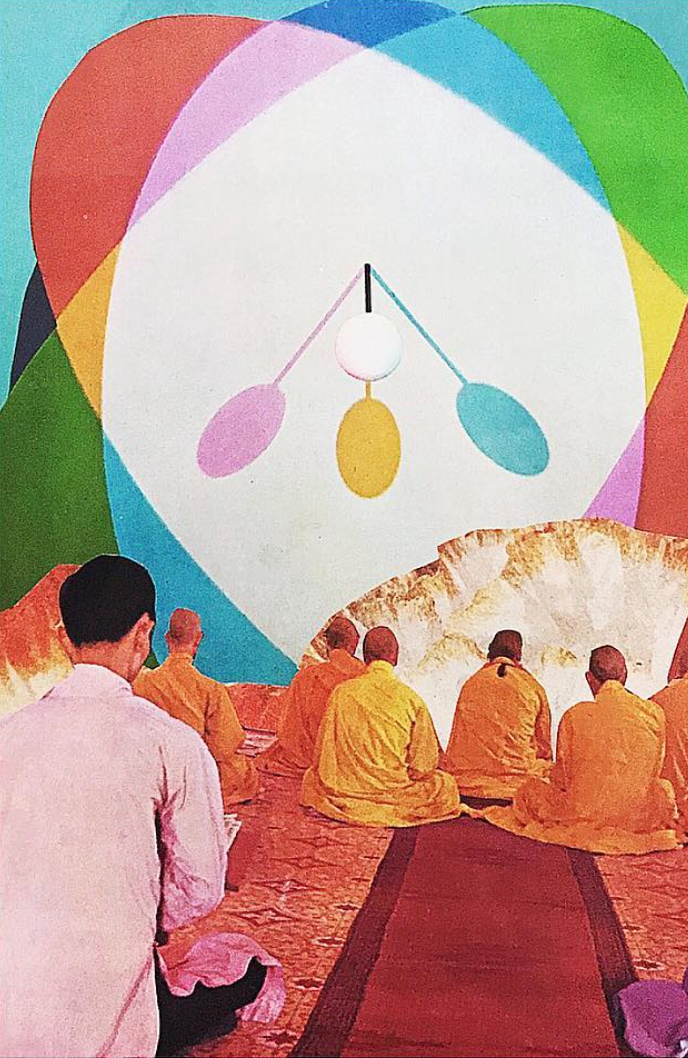
Collage ‘Beyond The Visible Spectrum.’ For more work like this, check out my instagram.

The older ones that I love look different (no photo on the cover), which makes them easier to spot.
1. Get really thrifty
A surprising amount of time goes towards sourcing magazines. I love National Geographics for my pieces, and I’ve been loving the older ones, from the 40s and 50s (which are harder to find and usually more expensive). I also use Life magazines and optical illusion books. Craigslist/Ebay will have some, but I usually prefer to find them in thrift shops/flea markets all over the world as I’ve always had a thing for nostalgia. This way I can also see what imagery I’m buying, and the materials tend to be cheaper in thrift shops than online.
I actually started my body of collage work after I went hiking and stopped at an antique store. I randomly picked up a vintage LIFE magazine, and got fascinated by the imagery. I tend to befriend the owners of these stores, and ask them to be on the lookout for a specific type of magazine that I’m looking for. They more often than not get invested in the work and want to help out and call me when they find something along the lines.

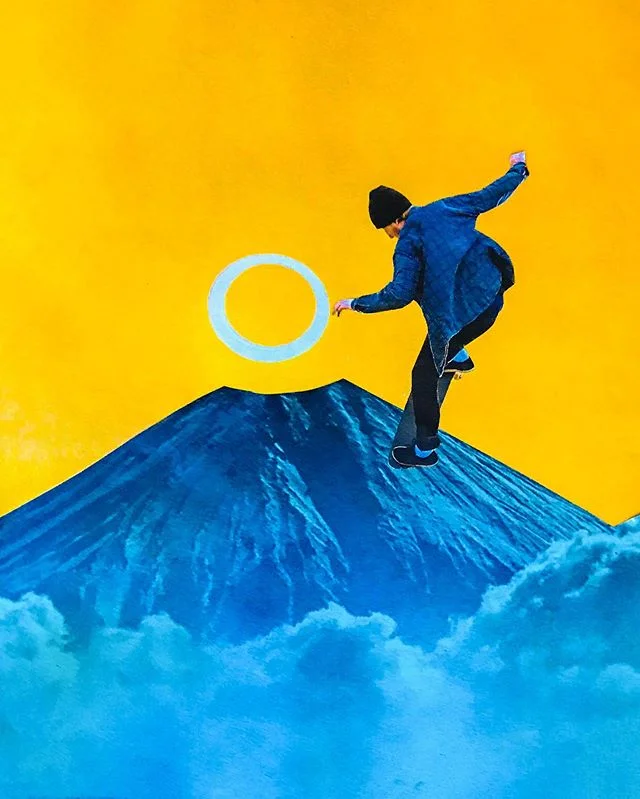
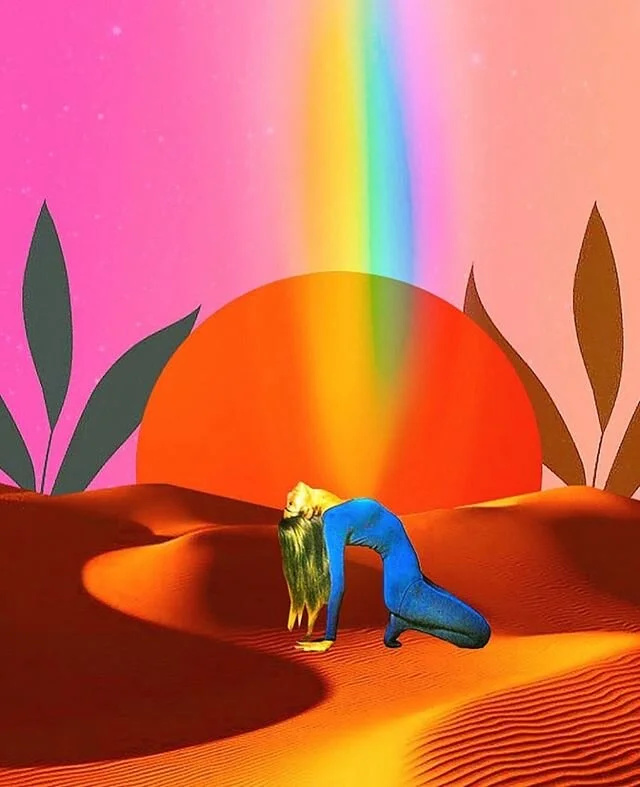
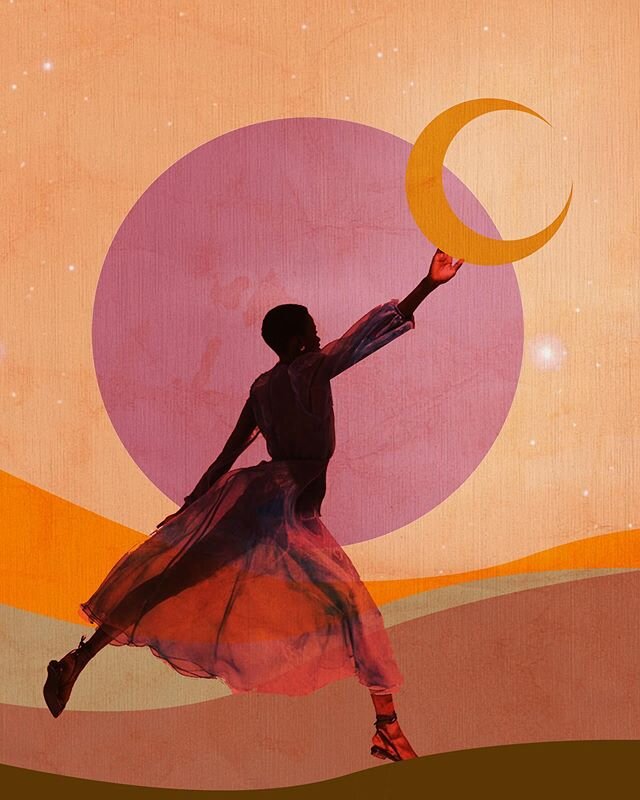
Collage ‘Road Trip’
2. Match textures
I try to only use materials that have the same texture in one collage. So I would never use a vintage image on thin paper with something that I cut out of a thicker catalogue. To me, it will make it stand out too much, when I aim for an even texture and a well-blended piece.
3. Don’t ditch the scissors
I know a lot of collage artist use exactoknives but I actually barely do. I’ve found scissors to cut much more precisely, especially very thin paper. Weirdly my preference is singer sewing scissors.
If you place points of interest in the intersections or along the lines, your composition becomes more balanced and will enable a viewer of the image to interact with it more naturally, as studies show.
4. Cut inside of the lines
When you cut out any given shape or figure, don’t cut on the edges exactly - cut off a little of the line that separates a shape from its background. That way, when you add the shape into a new environment, the new composition will naturally create an edge to that shape. This way, it all blends better. My often have a depth of perspective but also look flat and smooth, and that’s really why.

5. Use a circular cutter to make your own planets
Another collage artist gave me this tip and it has proved infinitely helpful. You don’t need to find planets all the time if you’re into spacey imagery like me. You can also use pretty much any sky background or solid color with some texture for a DIY planet if you have a circular cutter.
6. Know when to use your exacto
I used to apply stencil methods to try to integrate part of a figure into a given landscape. Kinda ridiculous how long it took me to figure out I cut simply take my exactoknife, cut into the given landscape (along its natural curves) and stick the figure right behind it.
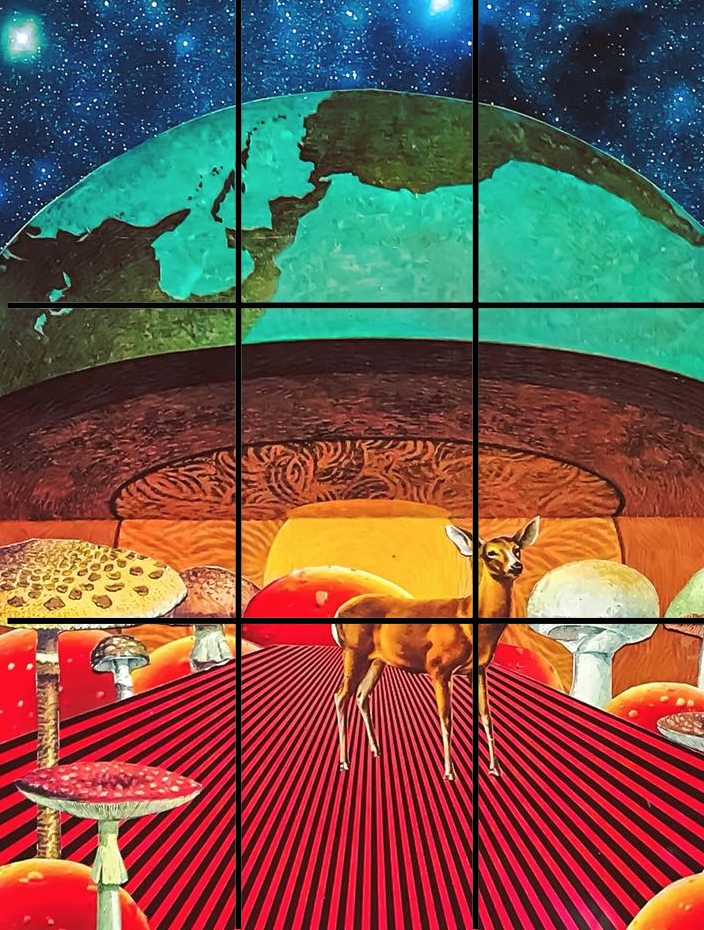
The deer is the point of interest here. Collage ‘Shroom Room’
7. Rule of thirds
My collages definitely depict dreamscapes that have a foreground, subject or point of interest, and background. I have a photography background, so the rule of thirds is something that I use without noticing all of the time, as its gotten so engrained into my visual sensitivities
To apply this, you would break the image down into thirds (both horizontally and vertically) so that you have 9 sections.
8. Repeat colors
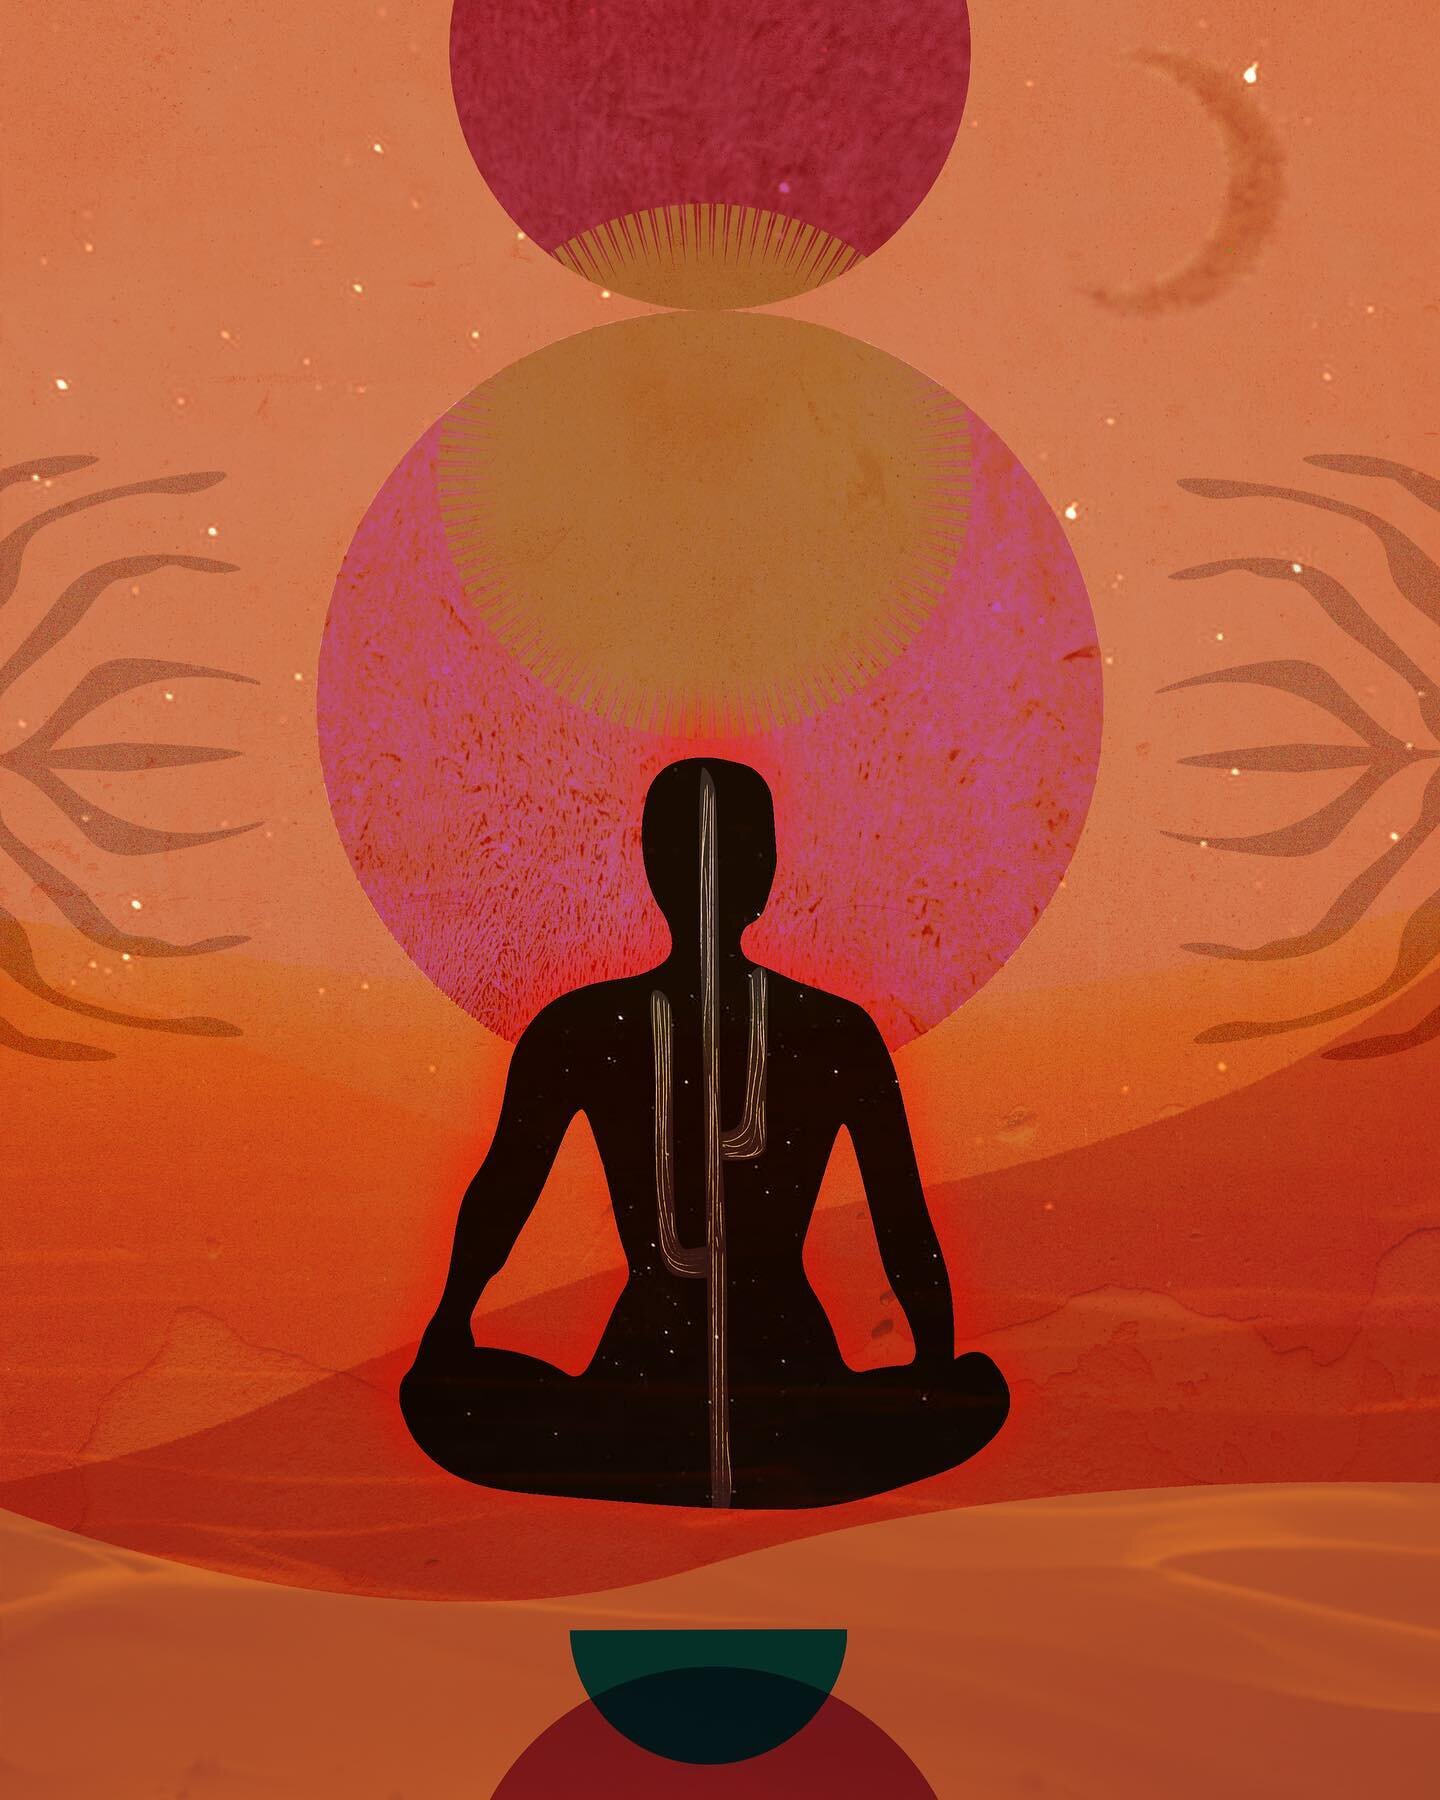
I tend to create a feeling of looking inside, and blurring lines between the subject (in my work often a viewer) and her environment. So one trick I use is to pick one of the colors I used in creating my background on the subject itself.
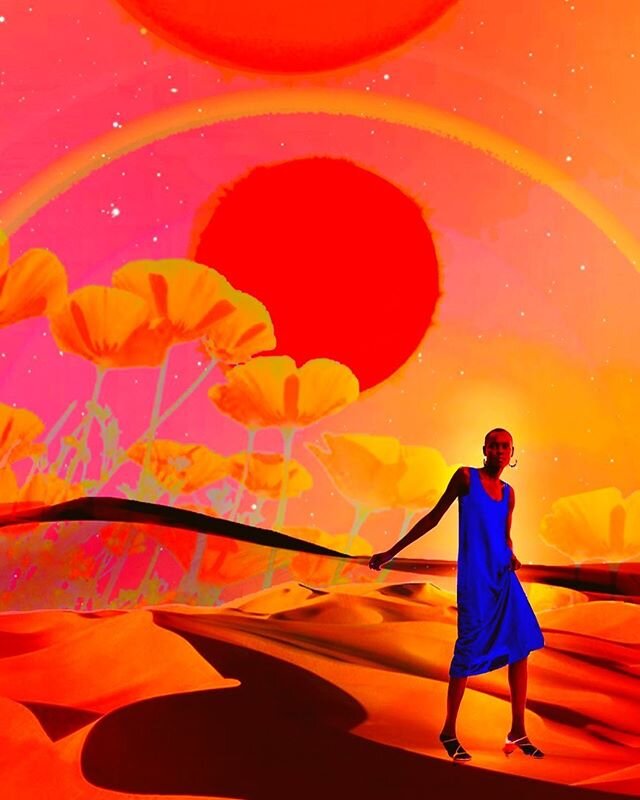
See how the color of my subject’s shirt is reflected in the pinks in the trippy sky visuals he’s looking at? actually a lot of colors from the sky are reflected in the foreground. Collage ‘Close your Eyes’
I marked the re-appering curved shapes I used here. Collage ‘Not What I Expected’
9. Repeat lines/forms
This one is a little more subtle and depends on visual sensitivities, but I like to work with pre-existing lines and shapes (properties that the images I pick have) and use similar forms in one piece. Let’s take my collage ‘not what I expected’ as an example.
Don't see this as a set rule - You can take it as far as you want, it’s really fun to play with. Sometimes I try to match my subjects curves to the environment, and sometimes it happens very intuitively.
10. Ruin your lungs with spray glue and spray glue only

I really recommend using spray adhesive as your form of gluing. I usually glue AFTER I have the whole composition ready.
When I spray my images (from the back, someone asked me that recently), I hold the image about 1-2 feet away from the spray for three reasons: 1. the image doesn’t get too too wet (aka with vintage imagery transparent). 2. It’s not spotty but evens out nicely that way. 3. This way, you can also gently nudge your object around when it's already glued. My favorite brand is ELMER’s, followed by 3M.
That's 10. As artists we seek freedom to express, and real freedom is often found in the ability to have your own boundaries but still feel infinite within. I'm curious to hear if these tips help you. If you’d like to connect, you can do so here. I also just released tips on how to make a digital collage if you’re curious. Do you have additional tips? Let me know.